Releasing your app to the Play store is a crucial step in your release plan if you plan to support Android customers. While your actual effort will likely only amount to a handful of hours in total, you should expect the process to take upwards of a calendar week to complete since there will be periods of waiting on Google to verify both your account and app. You'll also need to prepare screenshots and text descriptions in order to submit your app properly.
Reading this article will help you prepare the right information ahead of time and minimize surprises along the way. There are two phases to complete: setting up your Play Store account and releasing your app build.
Setting Up Your Play Store Account
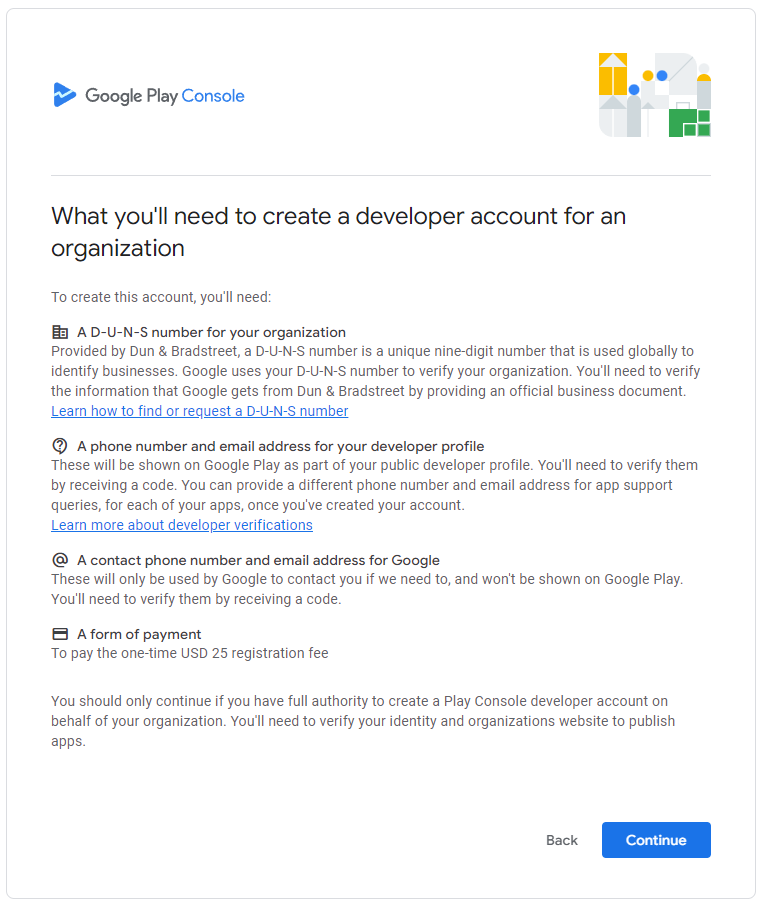
Here's what you'll need before you start setting up your Google Play Store account:
1. A Developer Name - This name does not need to correspond to the legal name of your organization and will be displayed on your listing in the Play Store.
2.
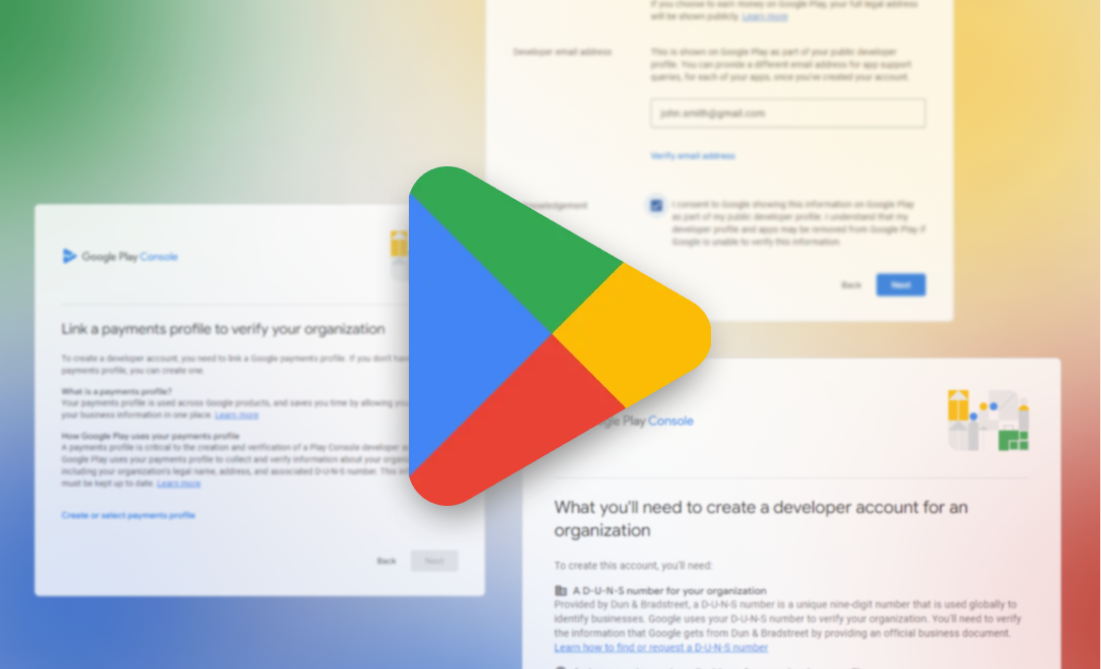
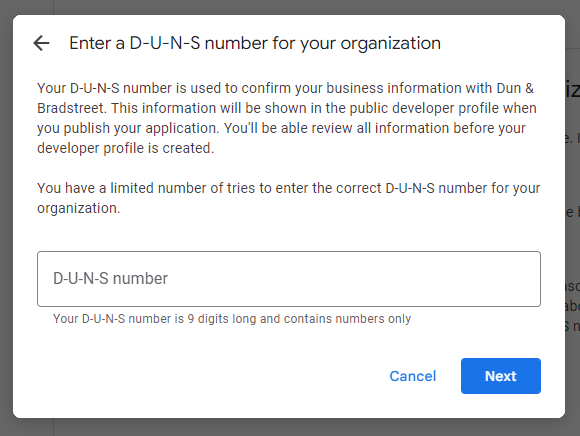
A D-U-N-S® (Dun and Bradstreet) Number - These unique nine-digit numbers are assigned by Dun & Bradstreet and are widely used as standard business identifiers. You can check to see if your organization already has a D-U-N-S® Number
here and request one if necessary
here.
3. Organization Name and Address - This does need to correspond with the legal name of your organization found on tax documents, and will appear in your public developer profile in the Play Store.
4. App Support Contact Information - This name, email address, will be shown on your public developer profile for app support questions, so we'd recommend using a generic email like support@mycompany.com for this.
5. Contact Information - You'll need to decide on a point person to be contacted with app approval and other Google Play communications. None of this information will be public.
Now that you’ve completed your preparations, it’s time to set up your account!
First, create a Google account
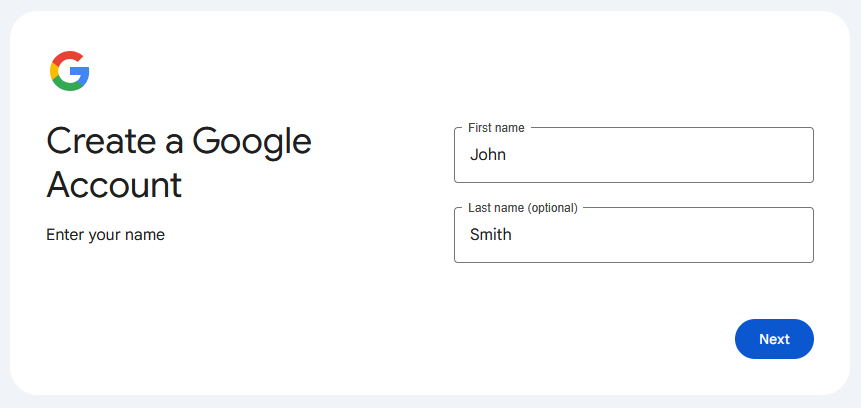
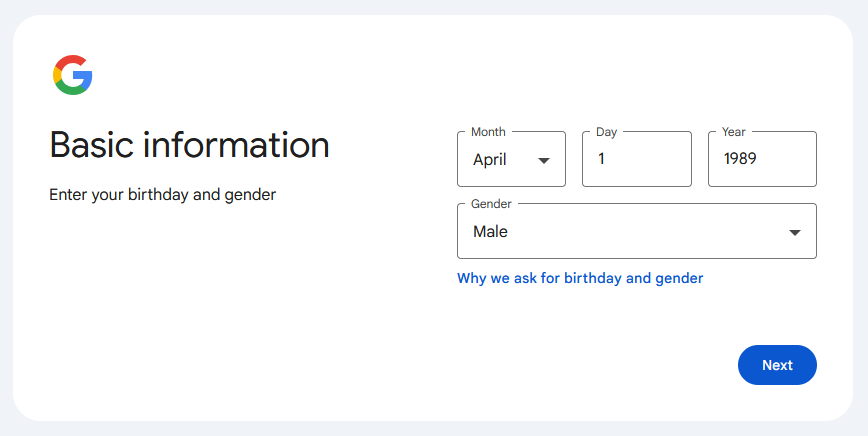
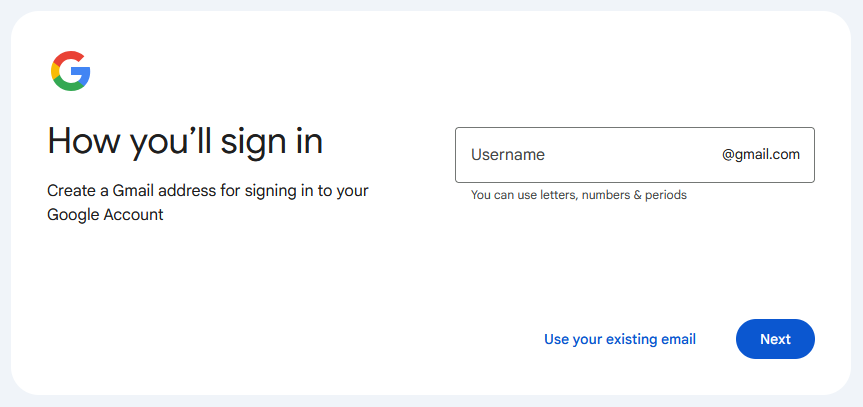
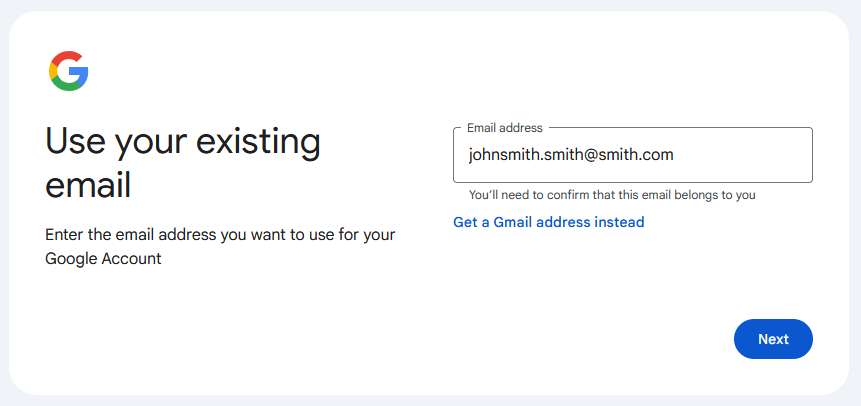
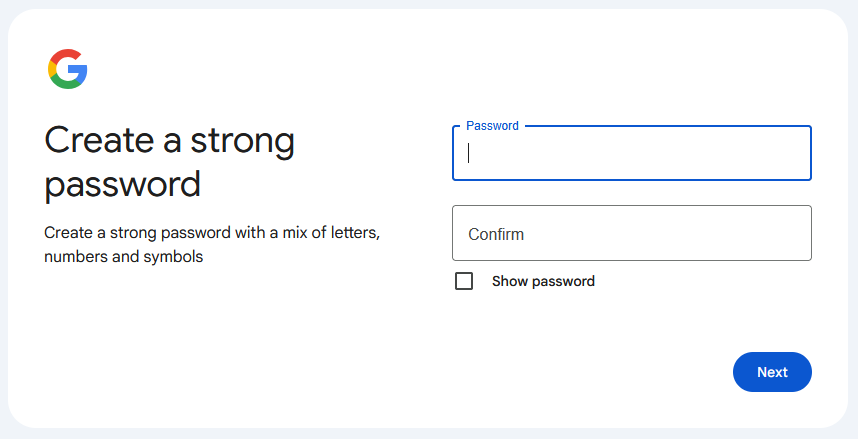
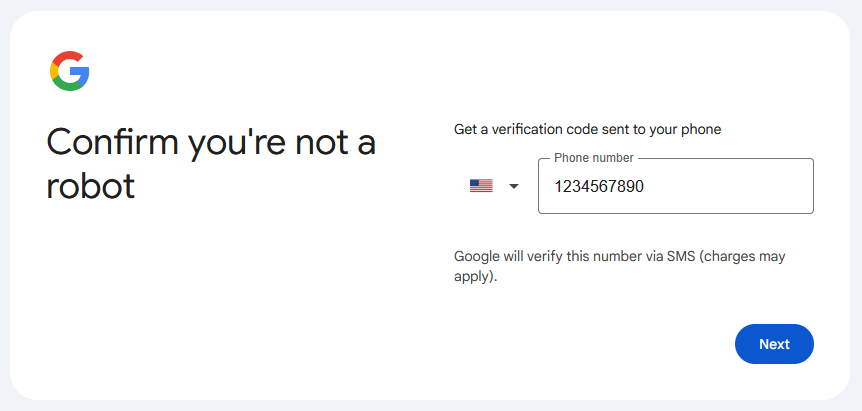
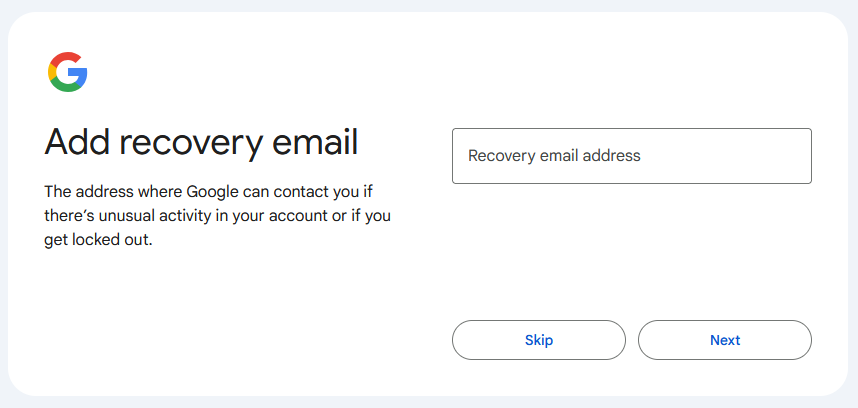
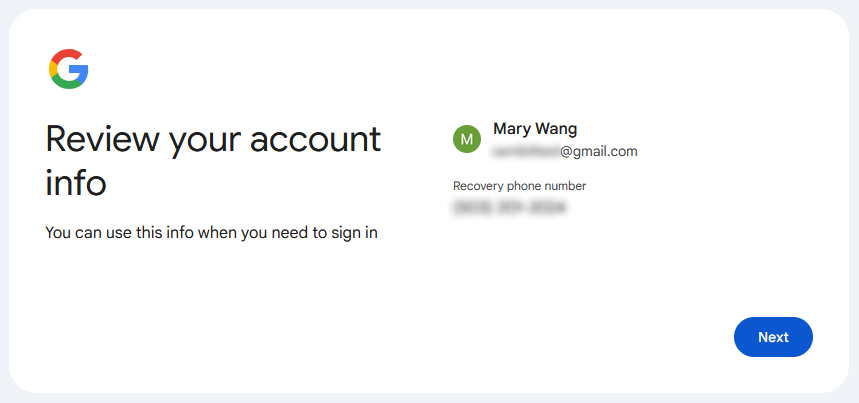
here if you don't have one already. You will need to provide your name, birthday and gender. After that, you can either create a new gmail address or use an existing email address. If you use an existing email you'll need to verify that email by providing a six-digit code. Lastly, you'll need to provide and verify a phone number and an optional recovery email.
Now, you can create a Play Console developer account
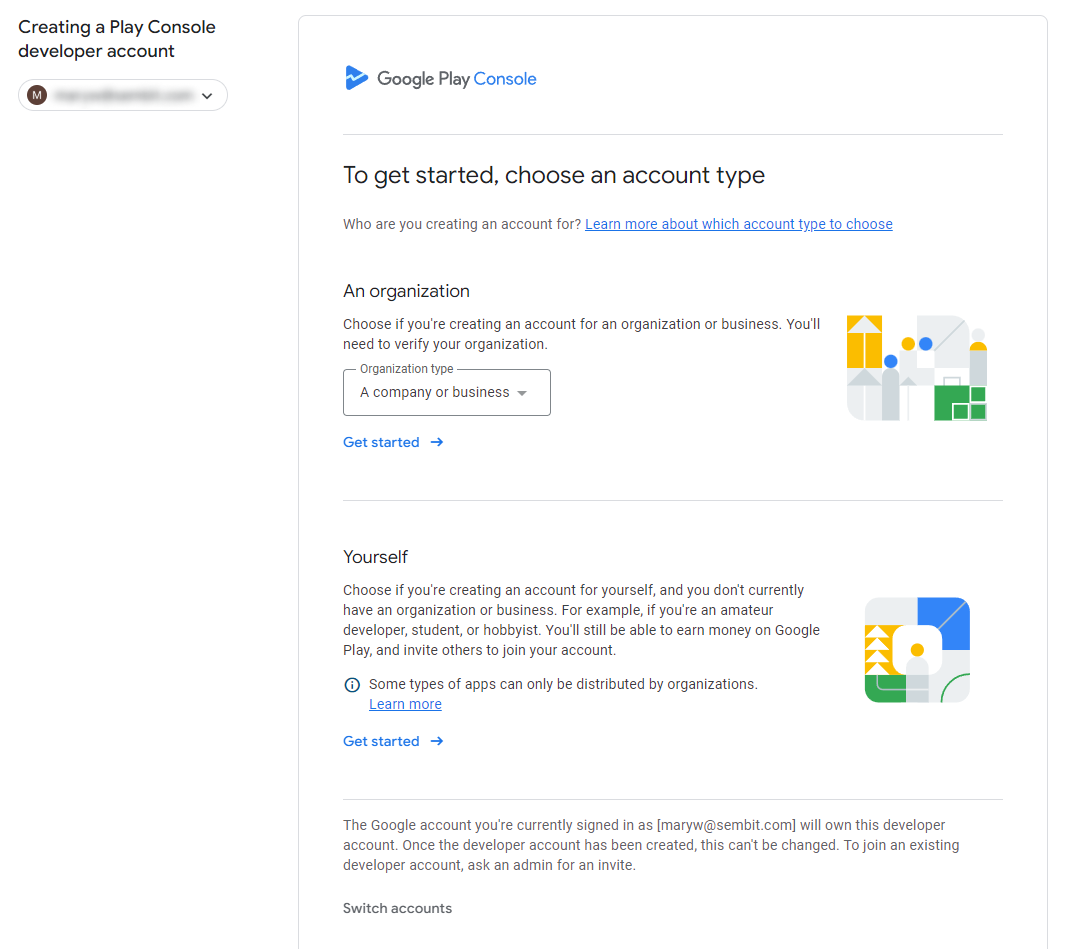
here. Once you log in with the Google account you just created, you'll select your organization type and press 'Get started'.
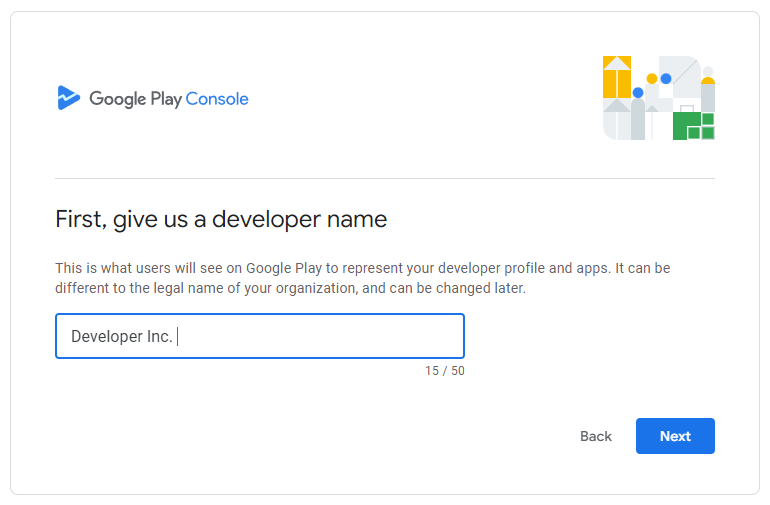
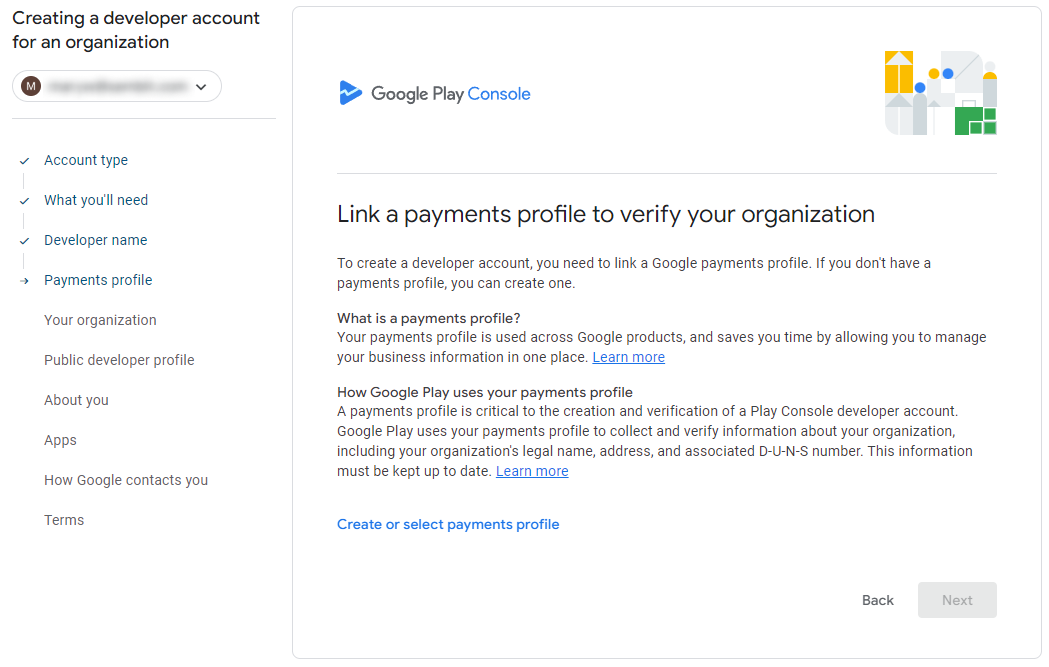
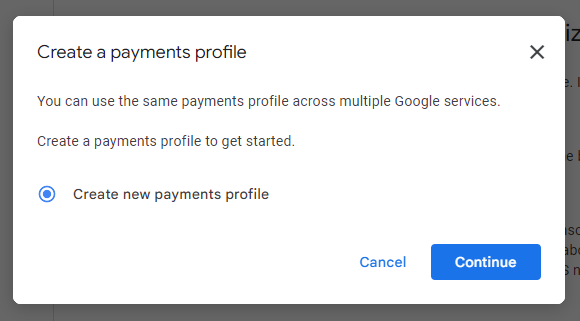
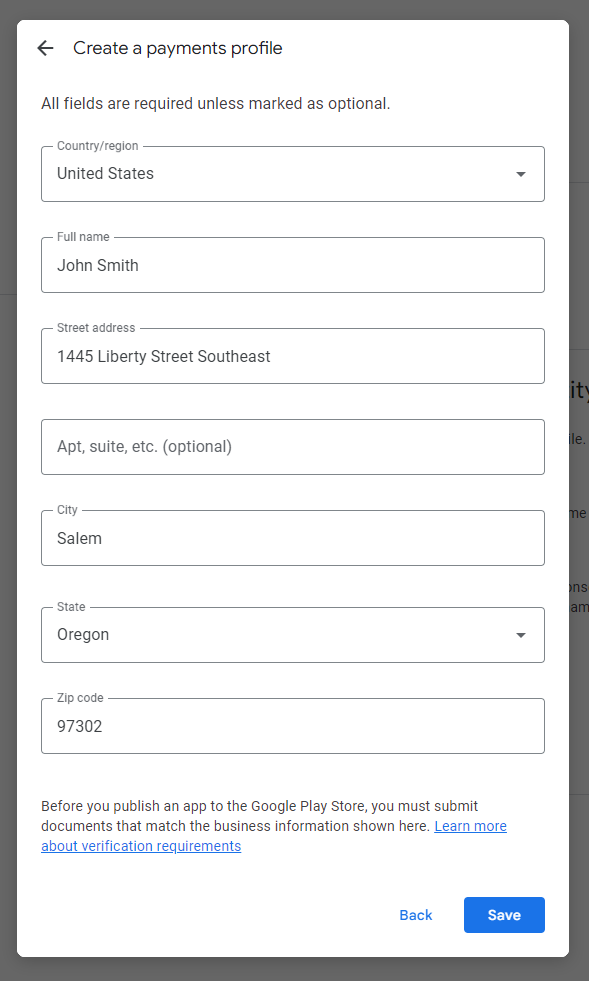
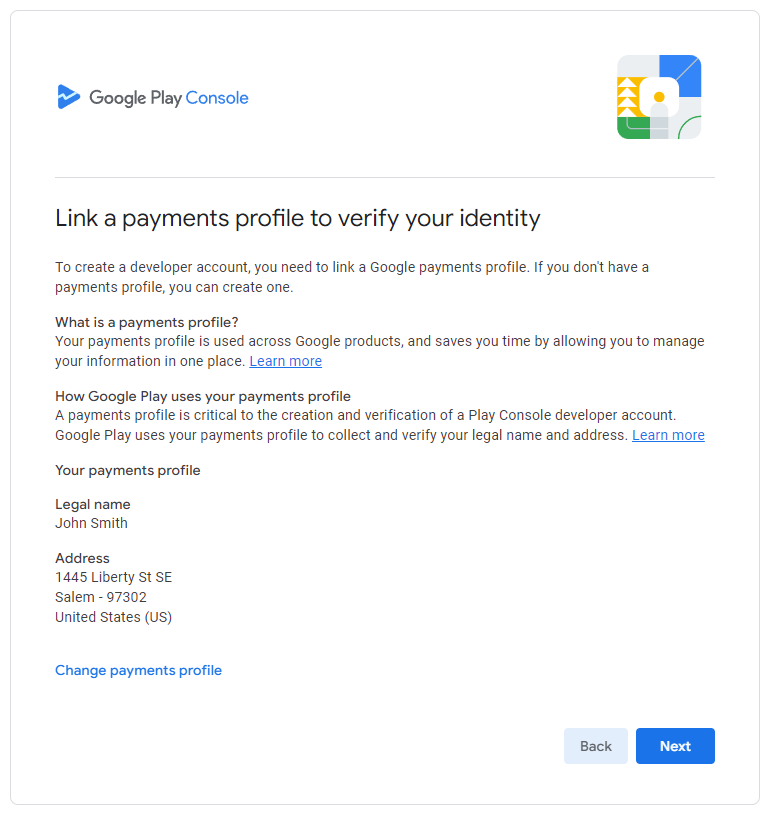
Next, you'll be prompted for your developer 'display' name that will be shown on your Google Play listing followed by a screen to create and select a payments profile. Select 'Create or select payments profile' and create a new payments profile. Clicking 'Continue' will prompt you for your D-U-N-S number followed by your organization's name and address.
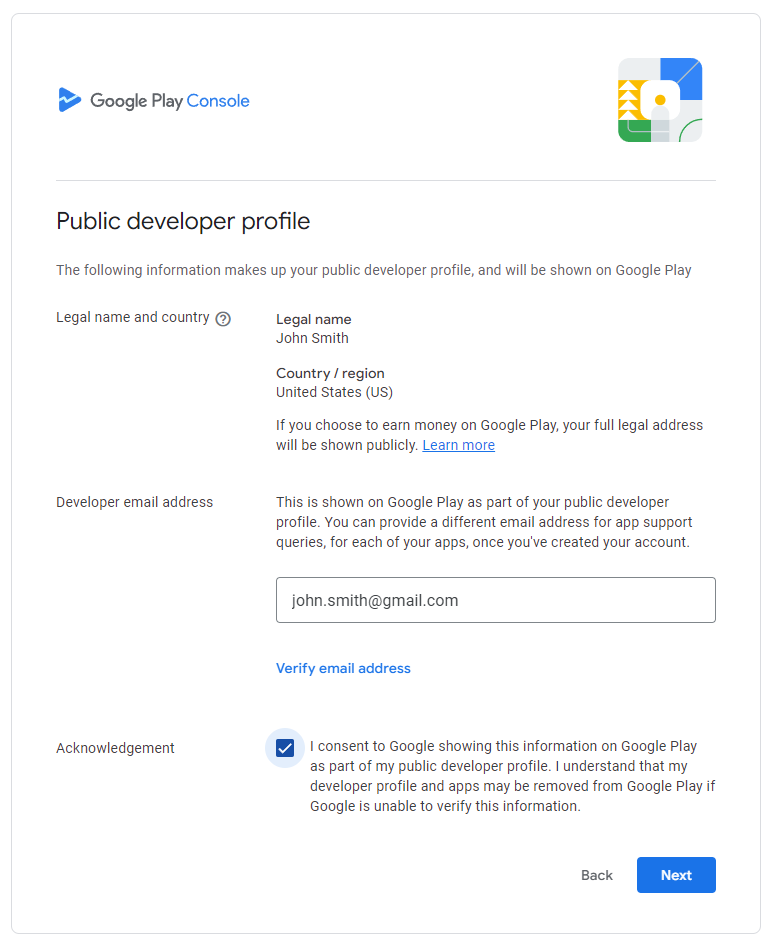
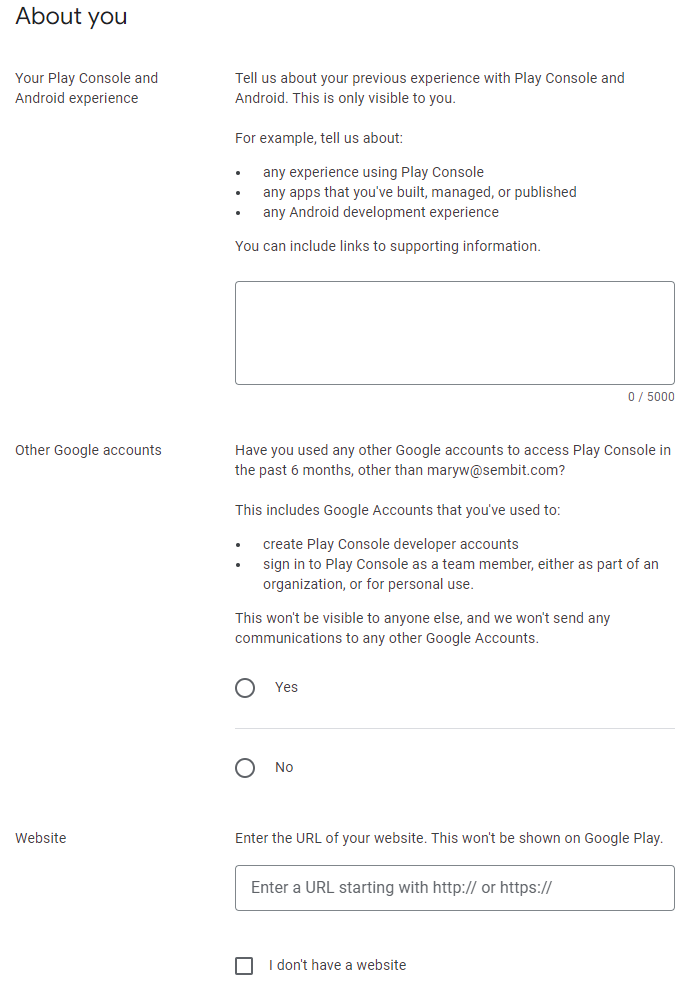
Once you've selected a payments profile, you will need to enter the developer email address for support that will be shown on your Play Store listing. You will then be asked about your Play Console and Google history. None of this is visible on the Play store and aids in your profile verification. If you have a website, that can also be entered here.
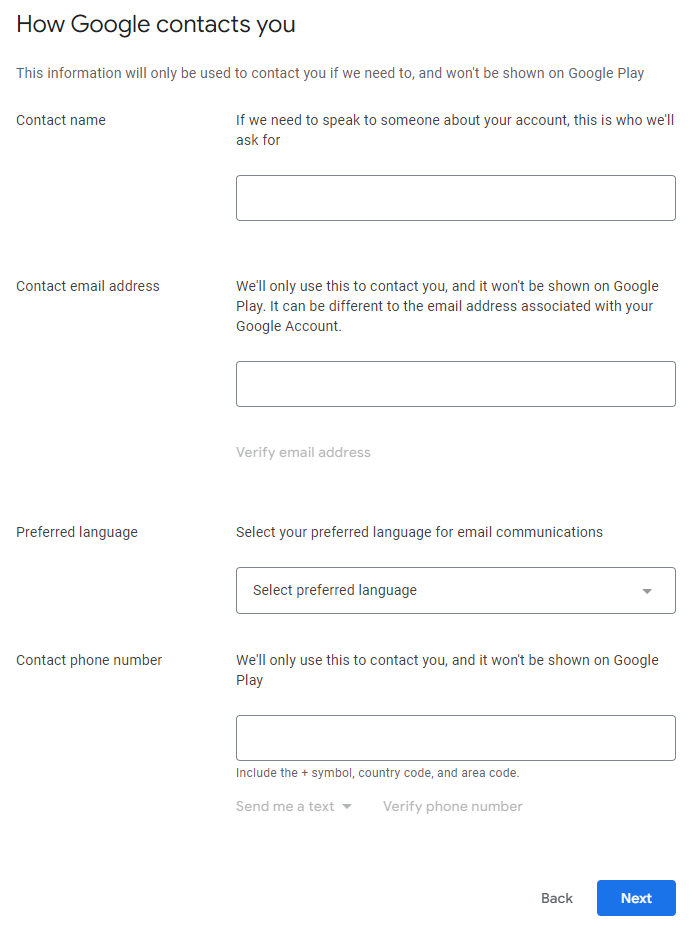
You will then be asked for the point person who should be contacted by Google for things like account approval, app approval, etc. Note that the correct format for Contact phone number is +1888123456. No hyphens or parentheses! Unfortunately their error message isn't very descriptive... Before clicking 'Continue' you'll need to press 'Verify phone number' to verify your phone number with a six-digit code sent via text or call.
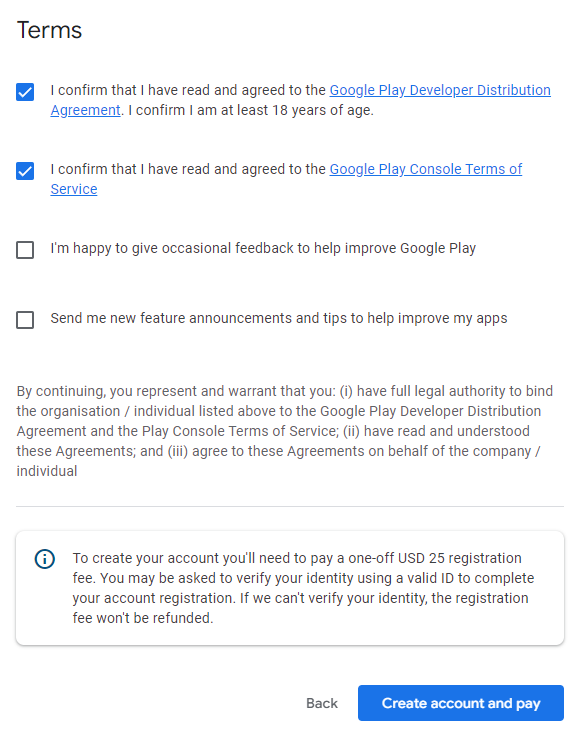
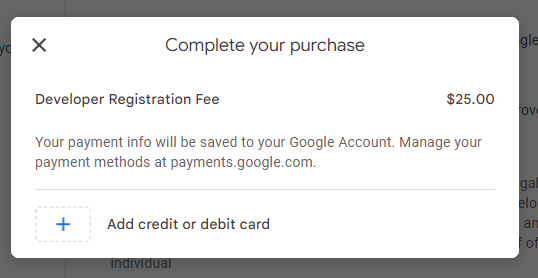
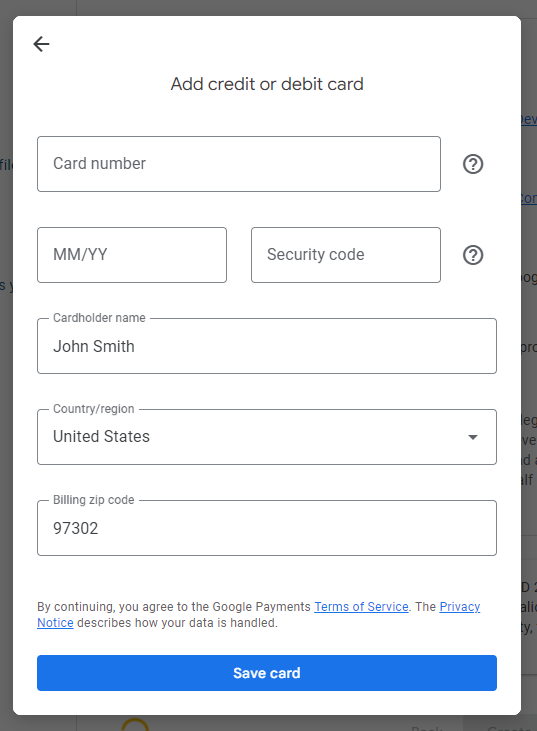
You must accept the Distribution agreement and the Terms of Service (the first two checkboxes on the next screen), but the second two checkboxes are optional to continue. You'll then be prompted to add a credit or debit card and pay the fee of $25 USD.
How much time should I allow for the verification process? Official documentation says to contact Google support if your payment hasn't been processed within 48 hours.
Setting Up Your App Release
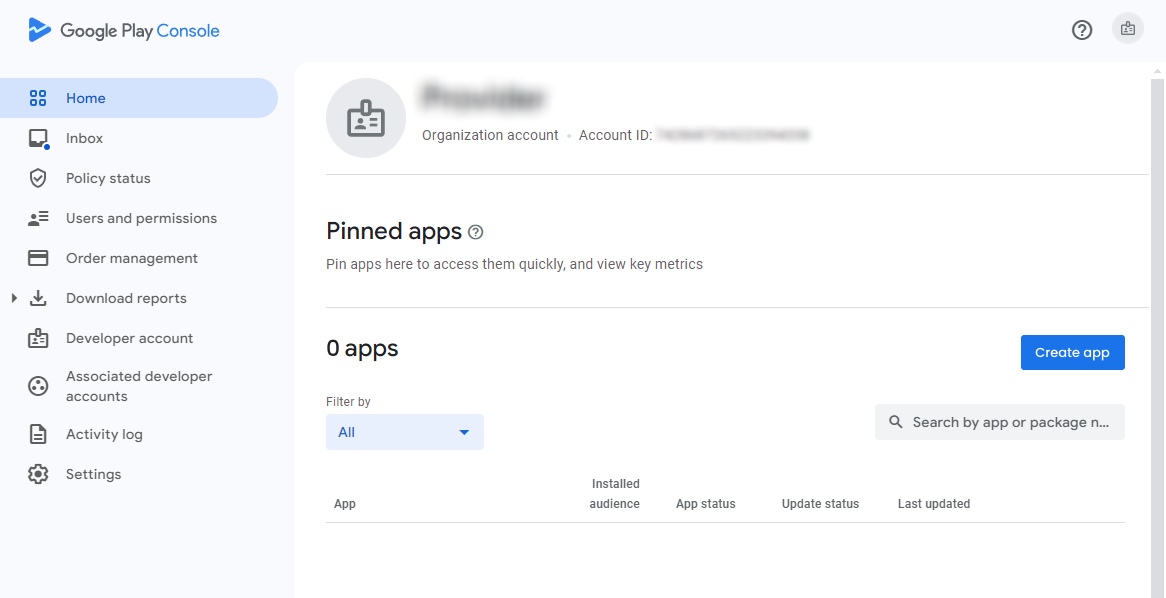
Once your Google Developer account is verified, you'll receive an email prompting you to log in. In the developer console, click the 'Create app' button to begin setting up your app release.
Here's what you'll need before you begin your app release:
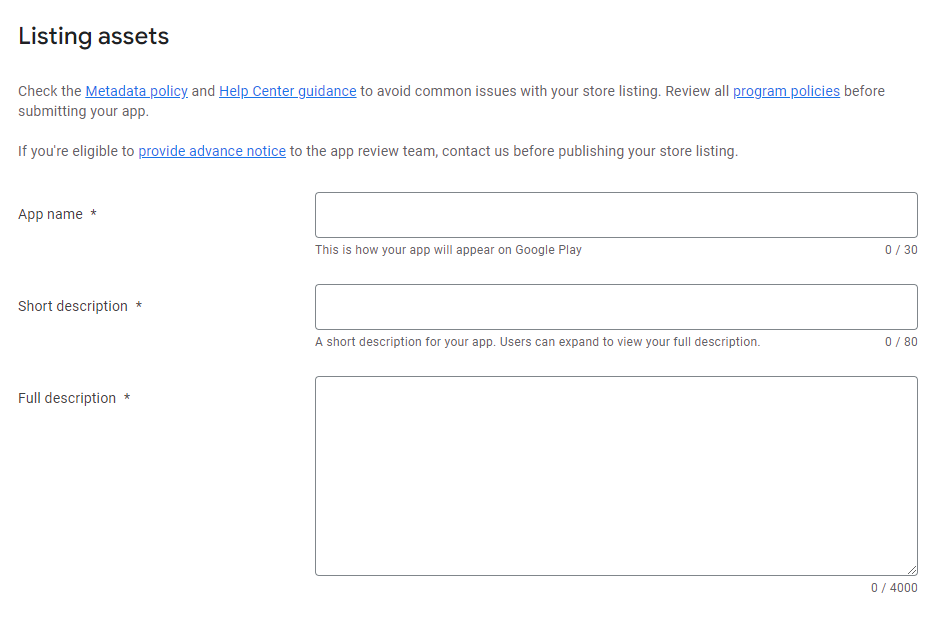
1. App Name - What your app will be called in the Play Store
2. App Description - 4000 characters is the maximum length. Make sure to also have a shortened blurb version with 80 characters or less.
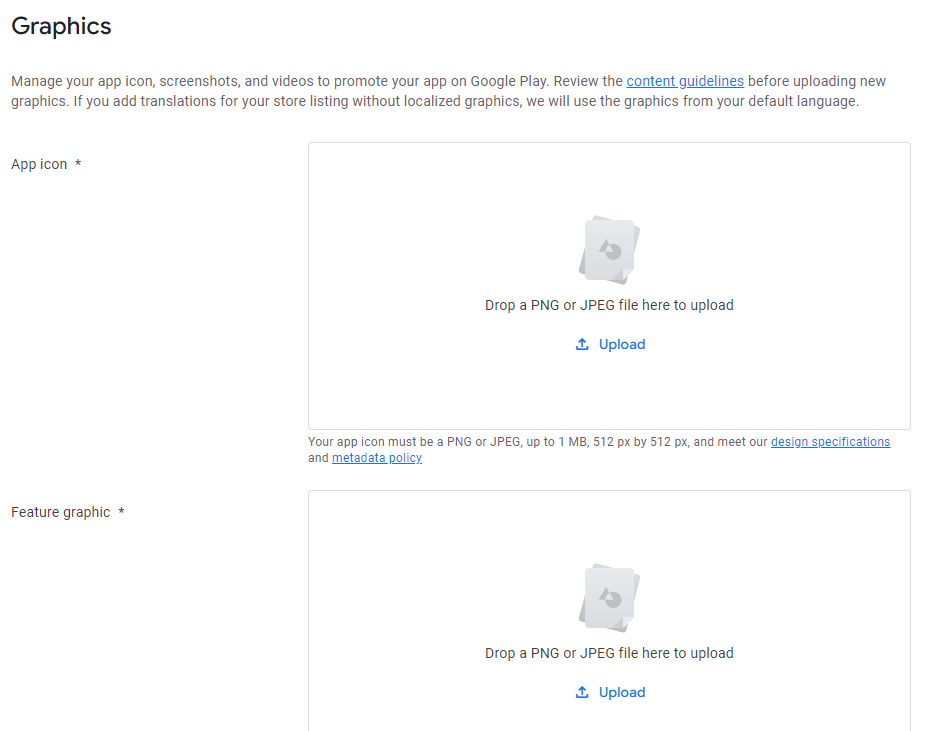
3. App Icon - A PNG or JPEG file that's 512 px by 512 px.
4. Feature Graphic - A PNG or JPEG file that's 1,024 px wide and 500 px tall.
5. 2-8 Phone Screenshots - PNG or JPEG files with a 16:9 or 9:16 aspect ratio (they should all be portrait or all be landscape - not a mix), with each side between 320 px and 3,840 px. They can be up to 8 MB each in size.
6. Contact Information - Support information that's appropriate to be shown in the Play Store listing.
7. Privacy Policy URL -
7. Account Deletion URL - A URL for a user to request deletion of an account or account data. (This only applies if your app has accounts.) This can be as simple as a link to a Google form where someone states the email associated with their account and when you receive one you have a developer delete the account from the database.
8. Test Account Credentials - A test account email and password so the Play store can do its testing
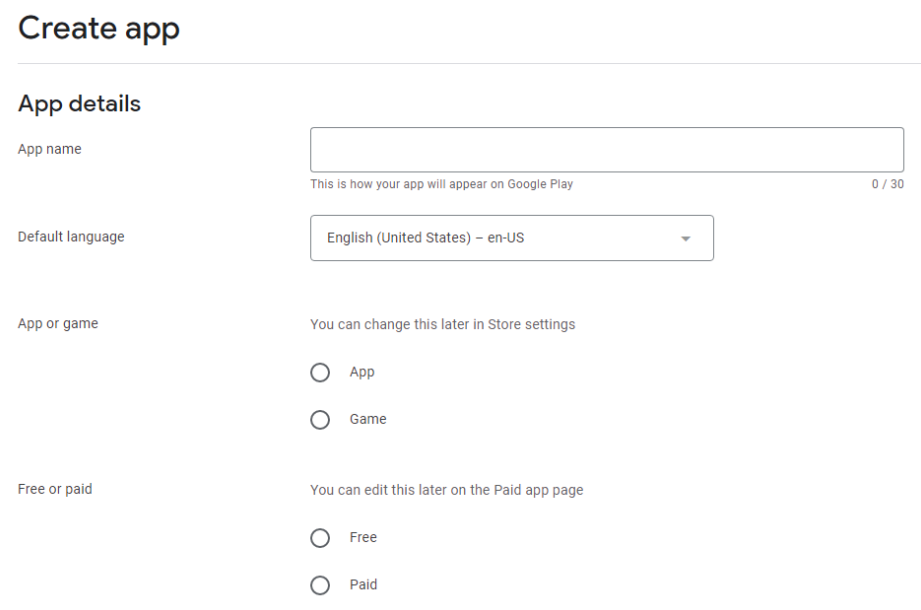
When you first create an app, you will be asked for the app name, default language, whether it's an app or game, and whether it will be free or paid. These choices will inform a second section of policies/terms to accept before creating your app.
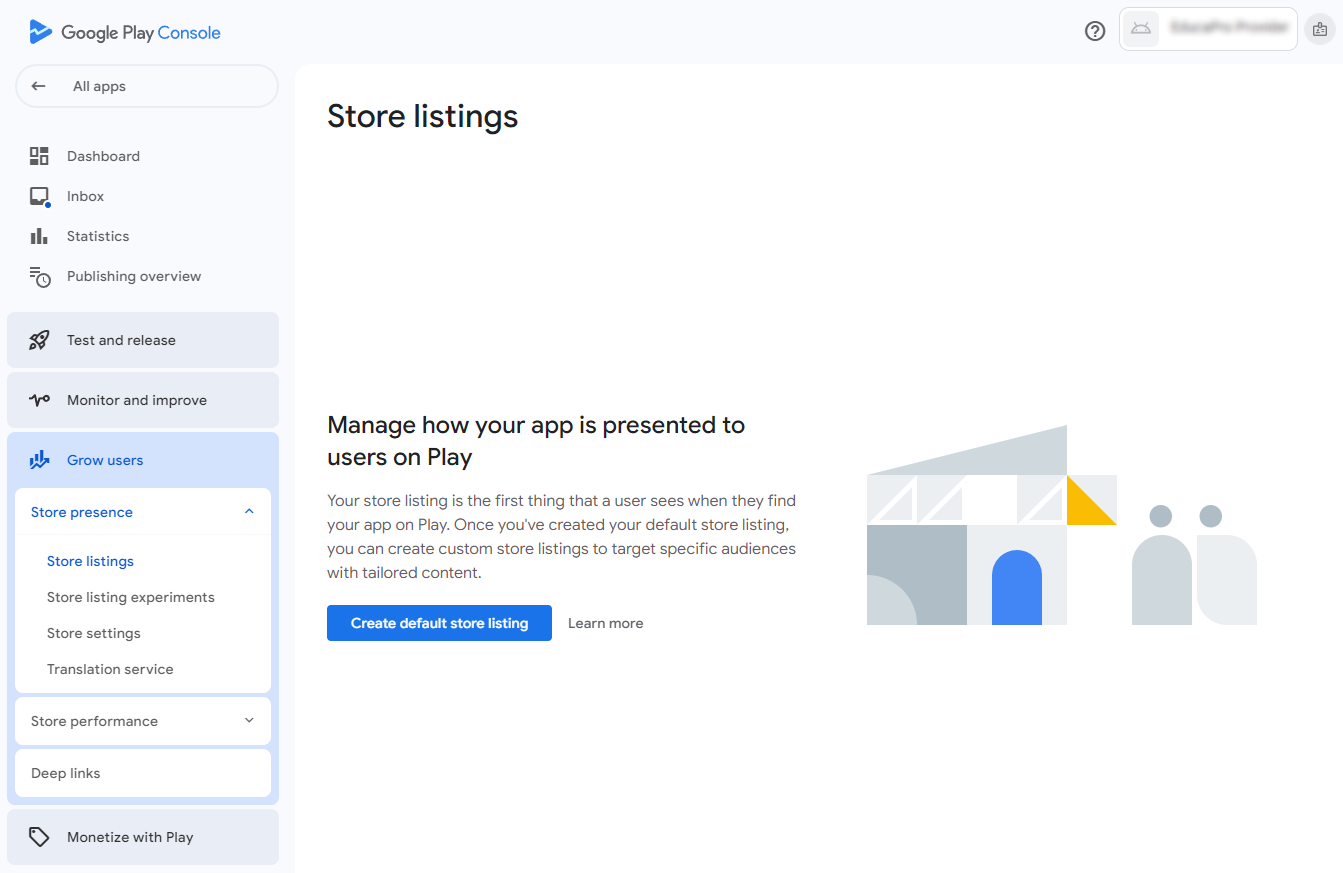
Once you've created the app, select it on the home page. Then, navigate to "Grow users" > "Store presence" > "Store listings" and click on "Create default store listing."
This will take you to a page where you can input the app name, app descriptions, and screenshots. The feature graphic is required, but is not generally used unless your app gets promoted by Google or you add a promotional video.
You must have at least two app screenshots but are not required to provide any tablet screenshots (although it would be recommended if you plan to target tablet devices.)
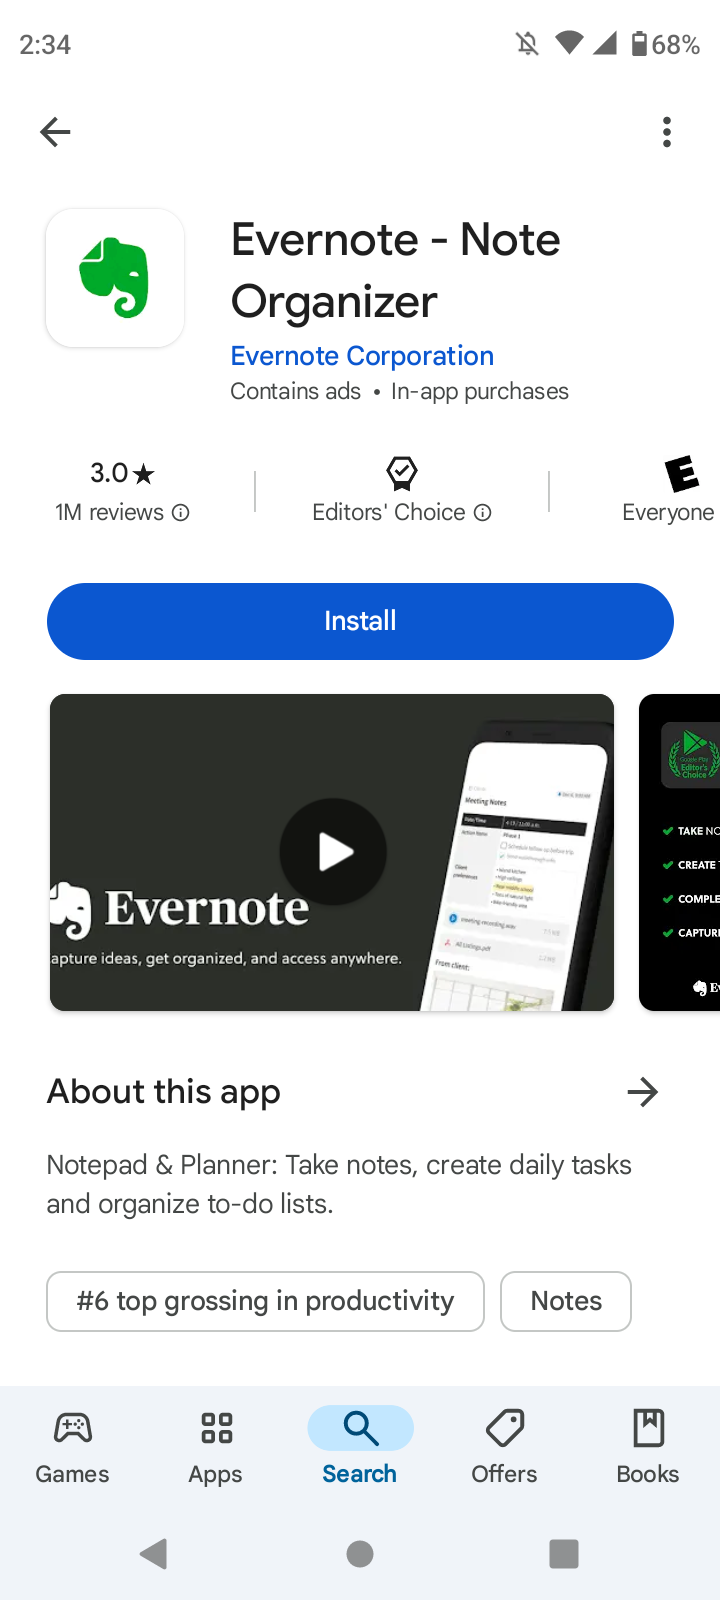
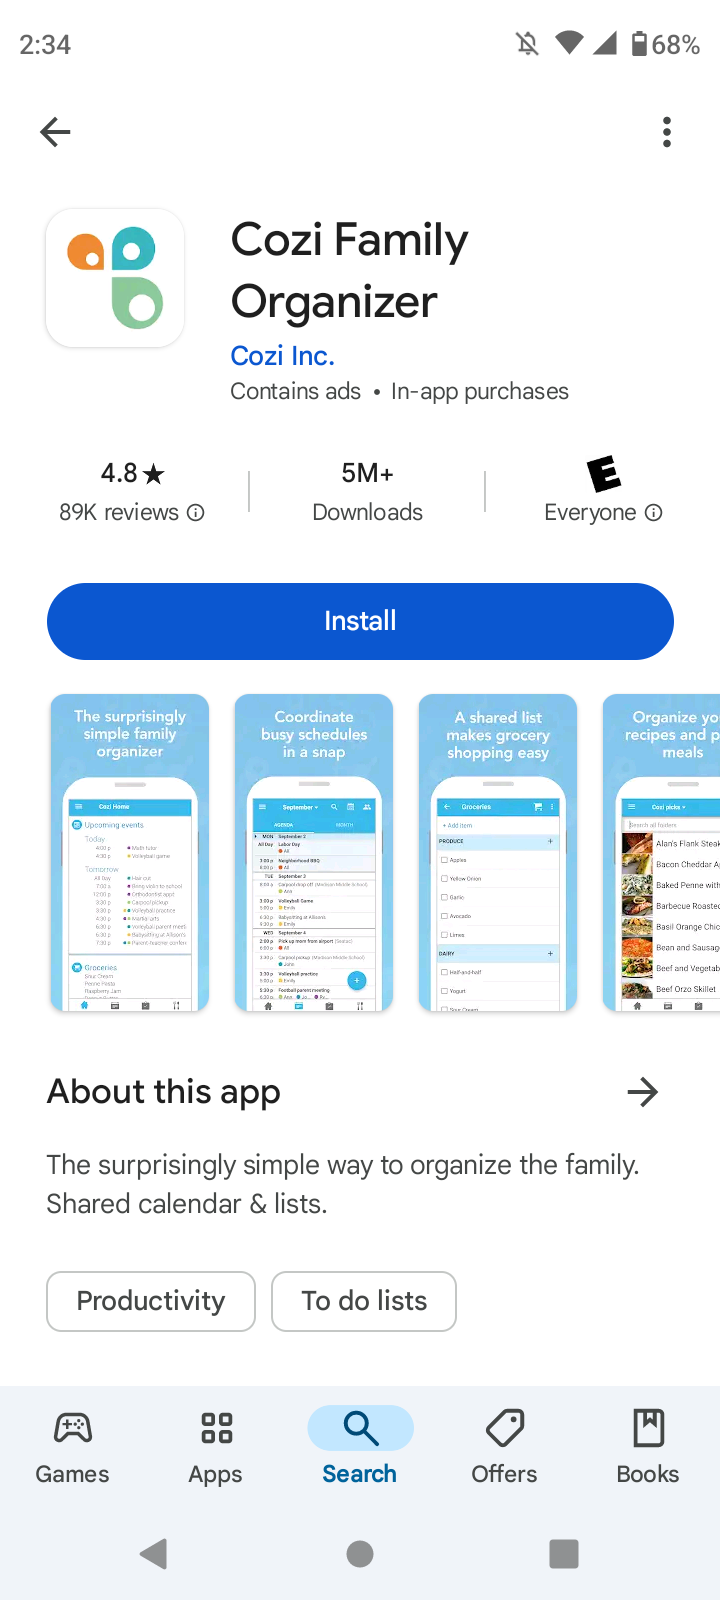
There's also room for a link to a video if you want a promotional video in your screenshot section. Keep in mind that this video will be displayed first (with the thumbnail being the feature graphic from above.) The store listing below on the left has a video link being utilized while the listing on the right does not.
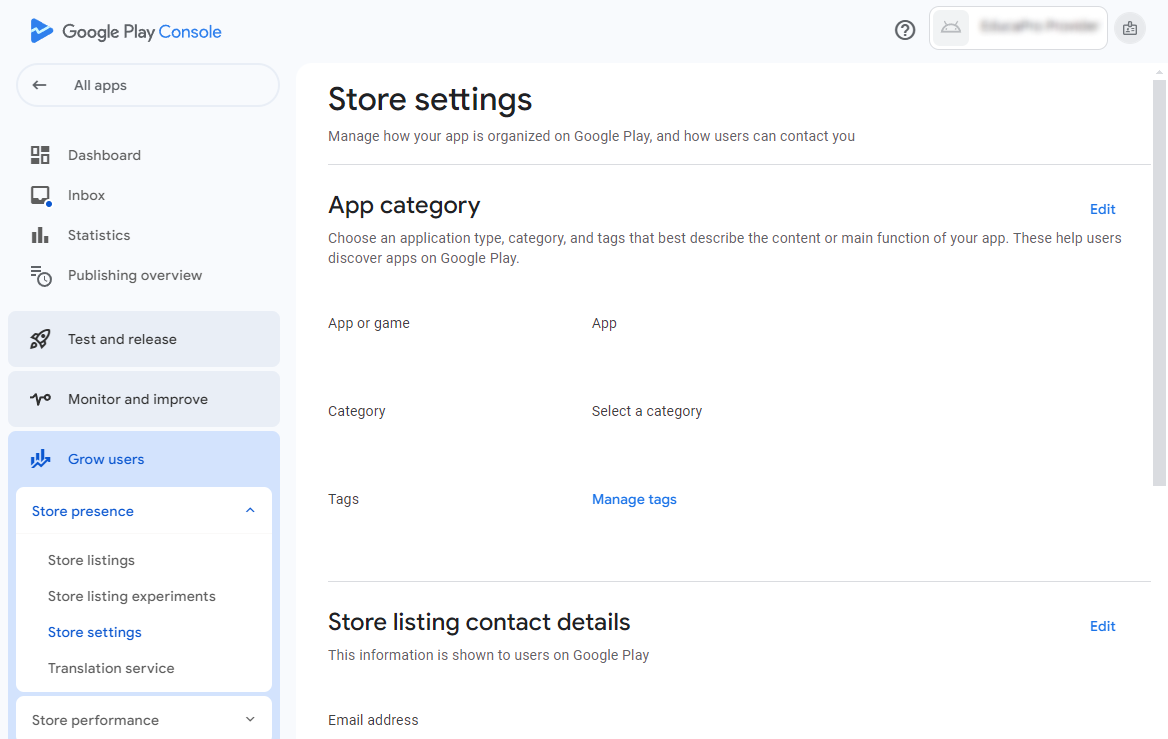
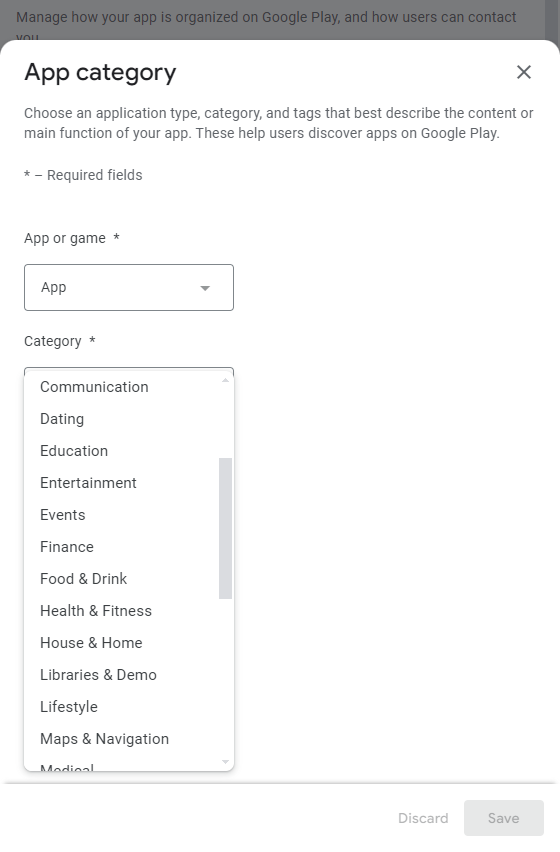
Next, navigate on the left-hand side to "Grow users" > "Store presence" > "Store settings" and click "Edit" next to the "App category" title.
Select the app category that best matches your app (when in doubt you can always choose "Business", but make sure to read through all the category options in case there's one that would match your app better.)
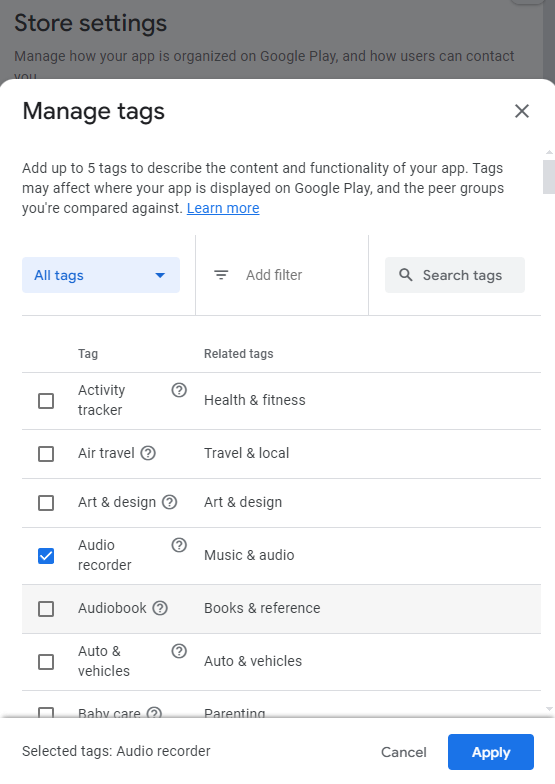
After that, click on "Manage tags" and skim through the tags and select up to 5 that match your app. You can filter them by app category, although the list isn't overly long and you might find a tag that's outside of your app category that still applies. Also, most Play Store listings have 1-3 tags, so don't try to force 5 tags to somehow "fit" your app.
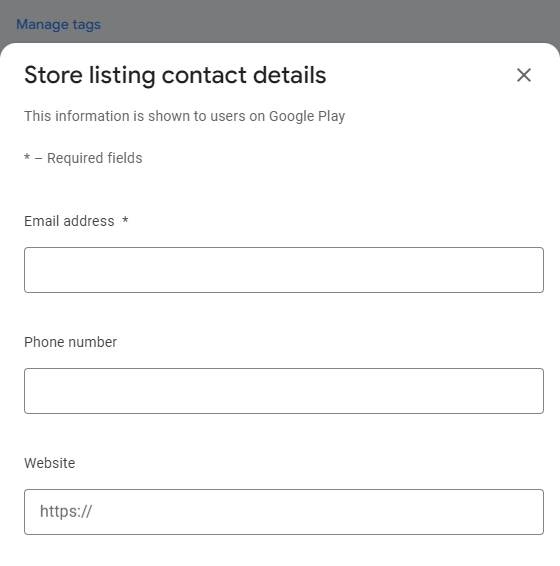
Below the tags section is a section called "Store listing contact details" which would more aptly be called "App support contact details" since this is contact information that will be shown in the public store listing as opposed to contact information used by Google to contact you about your app.
The website field could contain a link to your general website, but also consider the pros and cons of a support form or link to submit feedback.
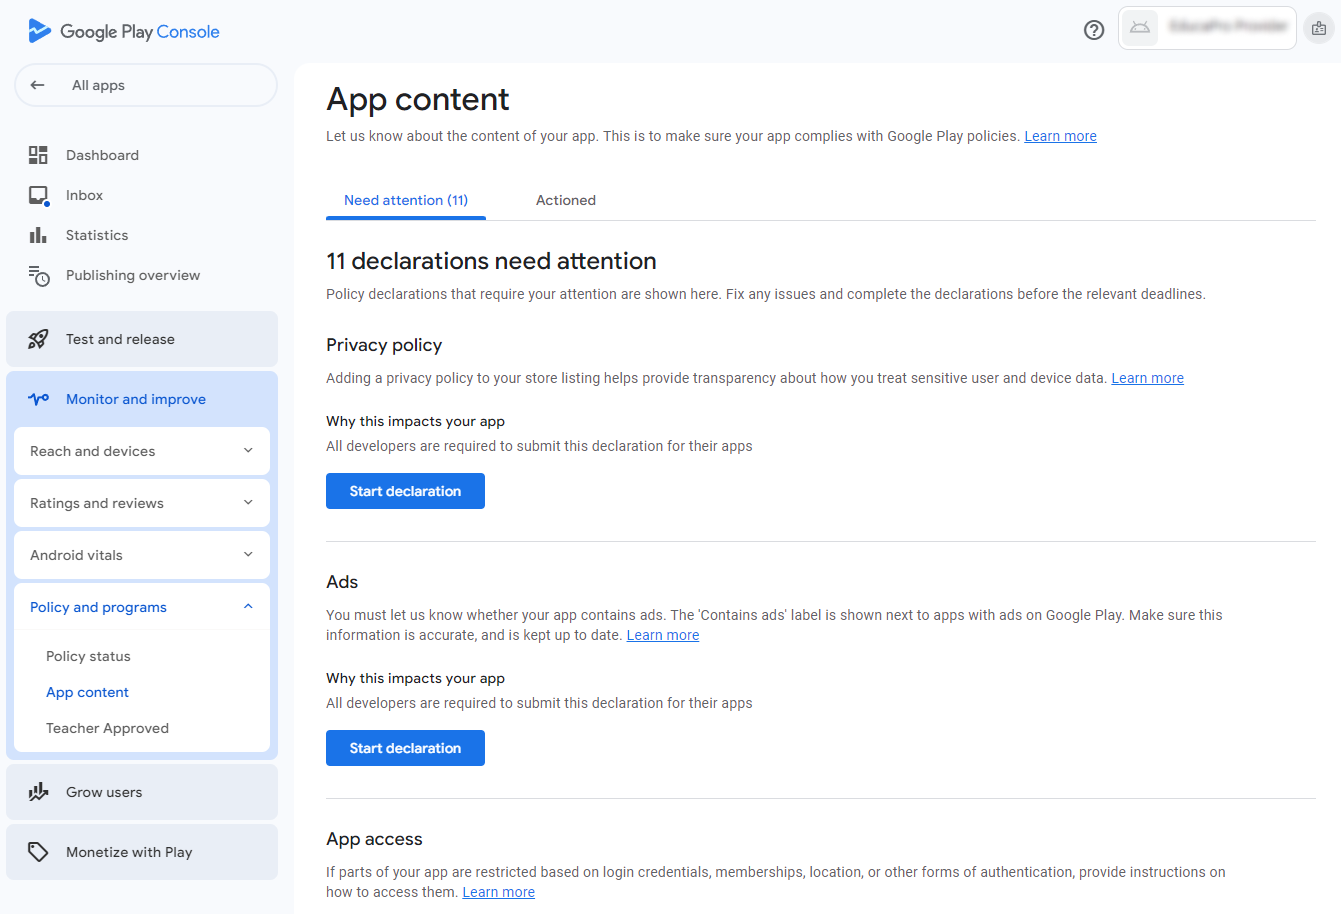
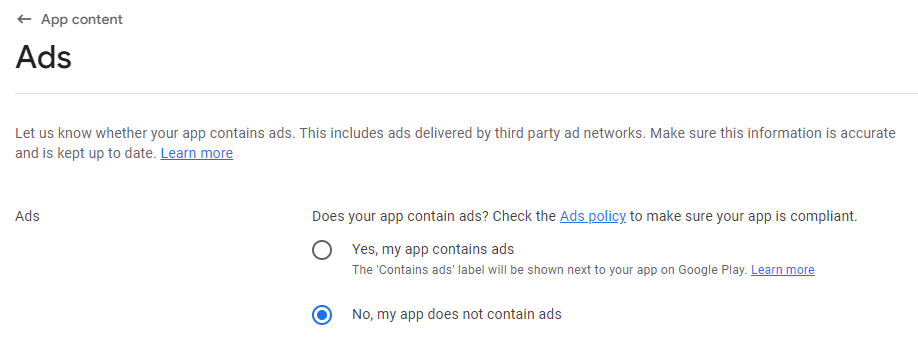
Next, navigate to "Monitor and improve" > "Policy and programs" > "App content" where there will be a list of items that need attention. As you complete the tasks, they will move to the "Actioned" tab at the top of the page.
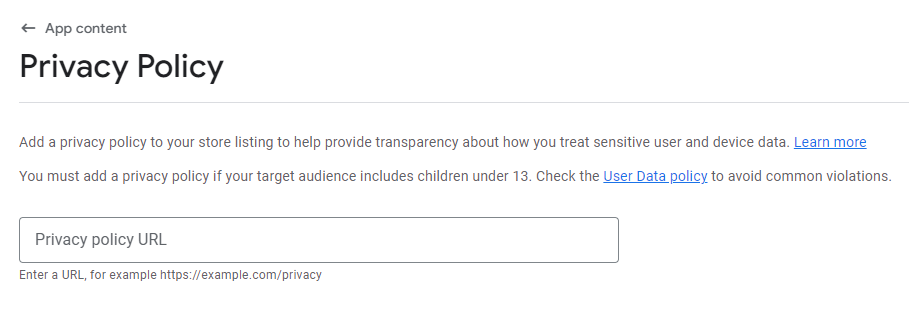
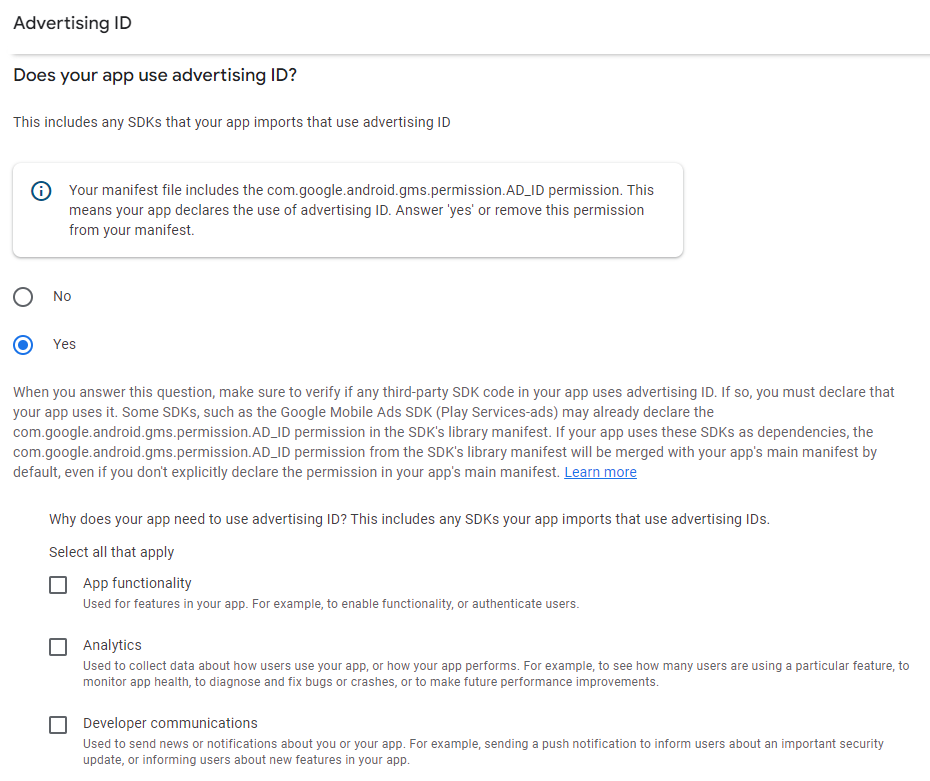
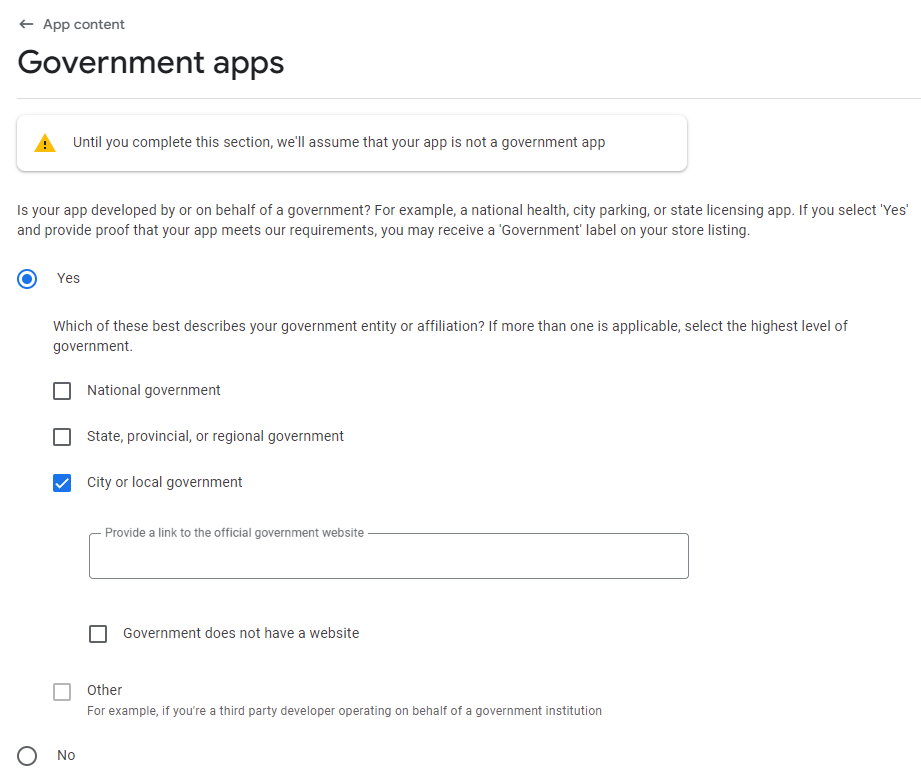
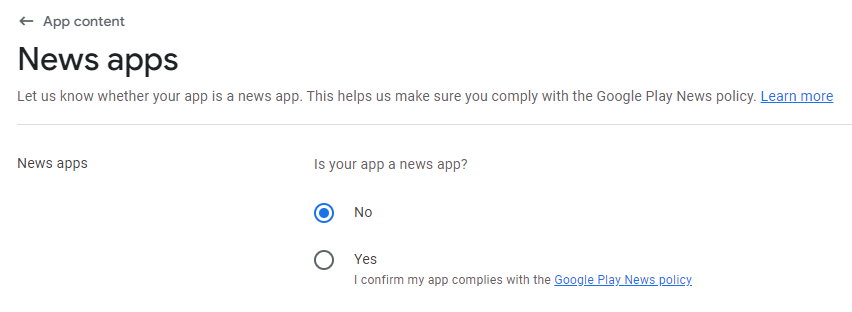
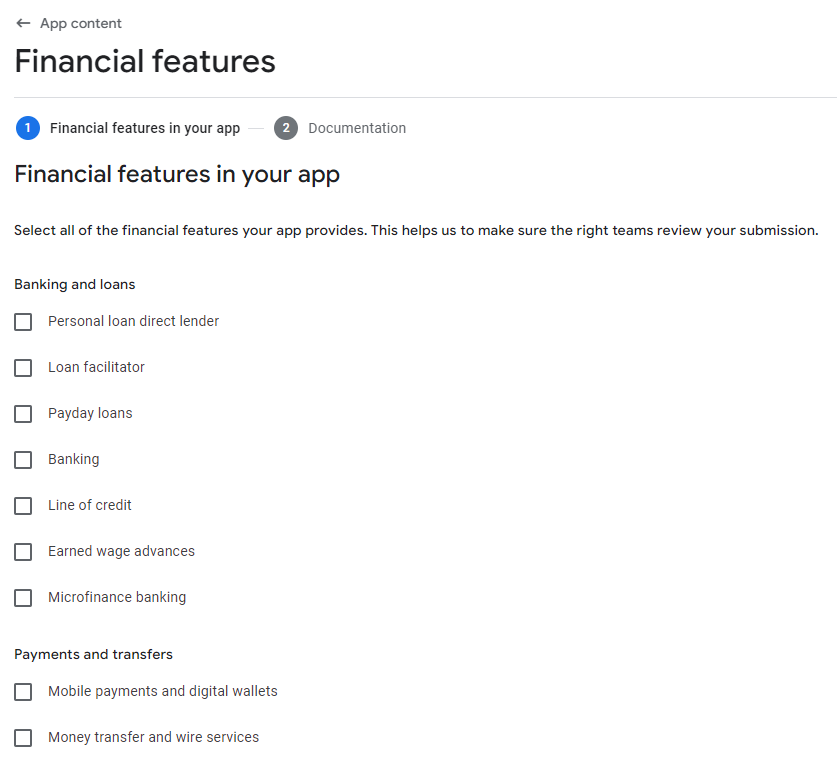
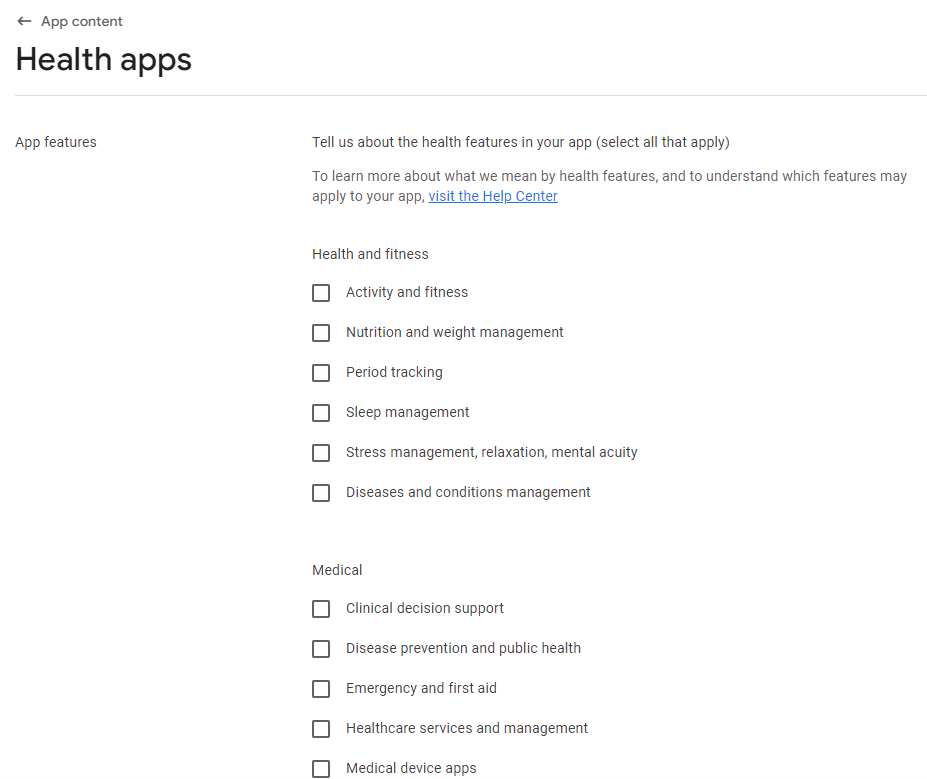
Tasks include adding your privacy policy, specifying information about ads and advertising IDs, and specifying any government, financial, news, or health-related categories your app may fall into.
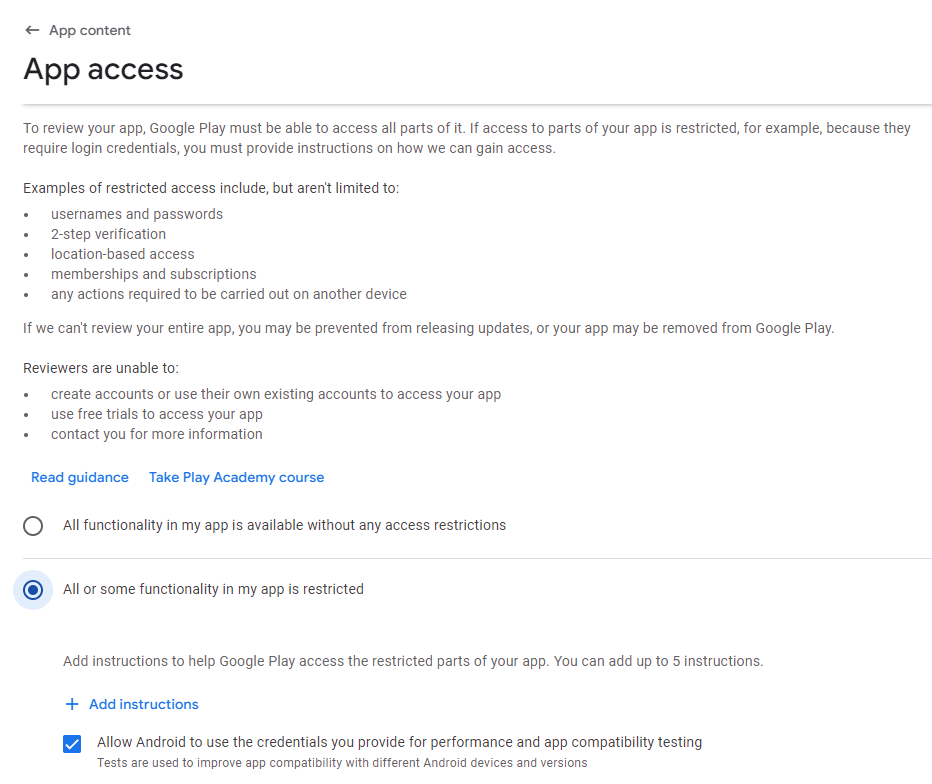
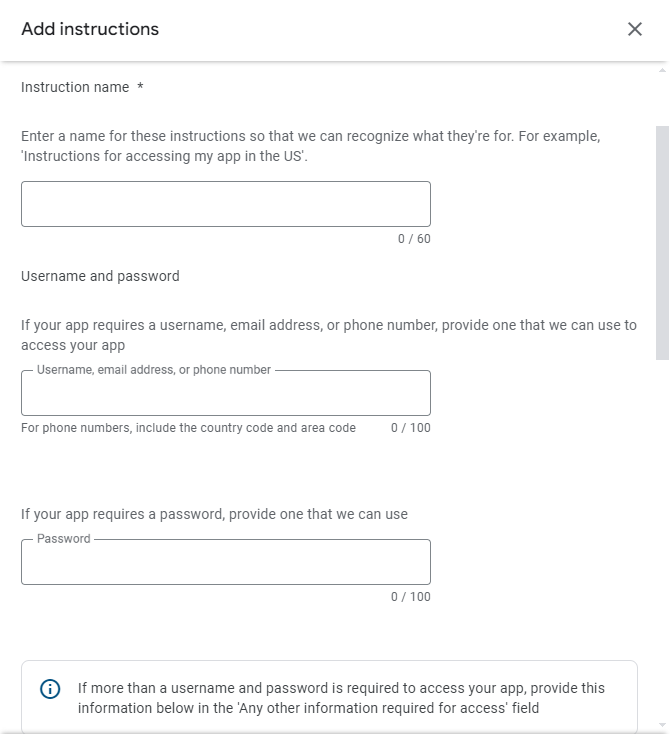
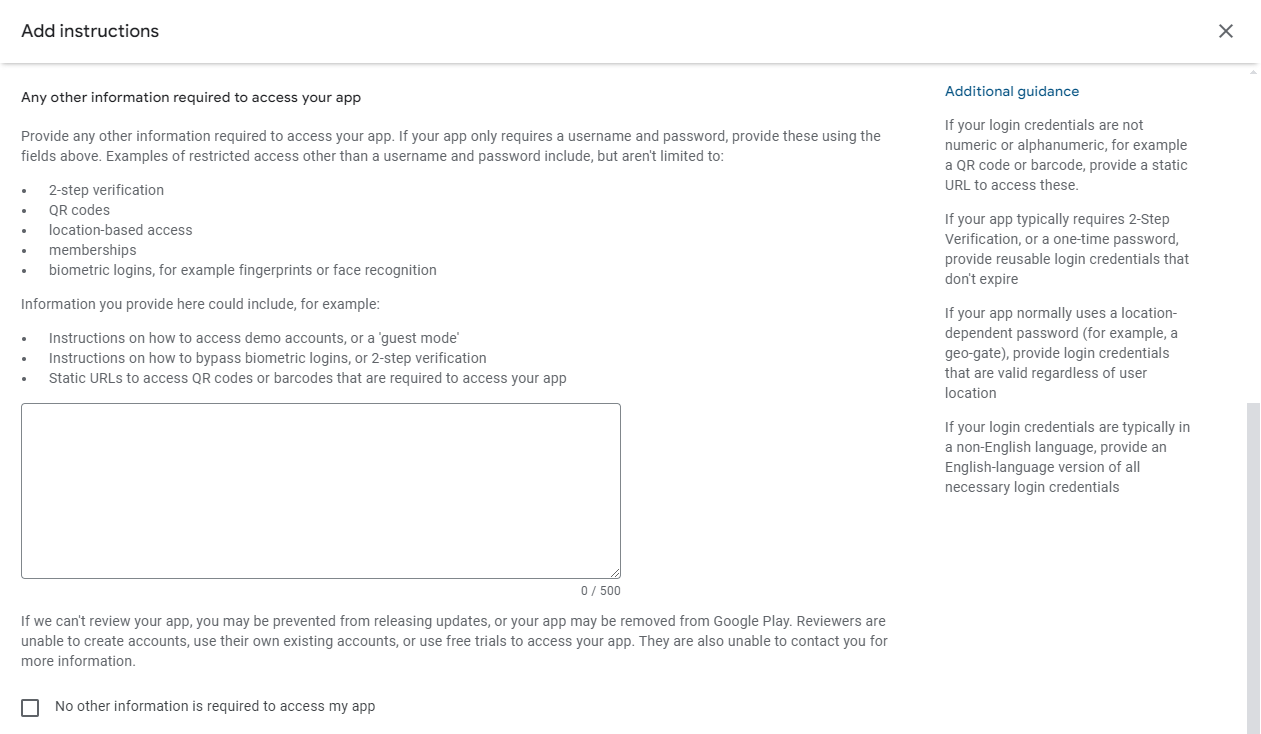
If you have usernames and passwords in your app, you'll need to note in the "App access" section that "All or some functionality in my app is restricted" and provide a username and password that Google will use to test your app. You will also need to write up how to complete verification (this includes letting them know about 2-step verification, location-based access, etc.)
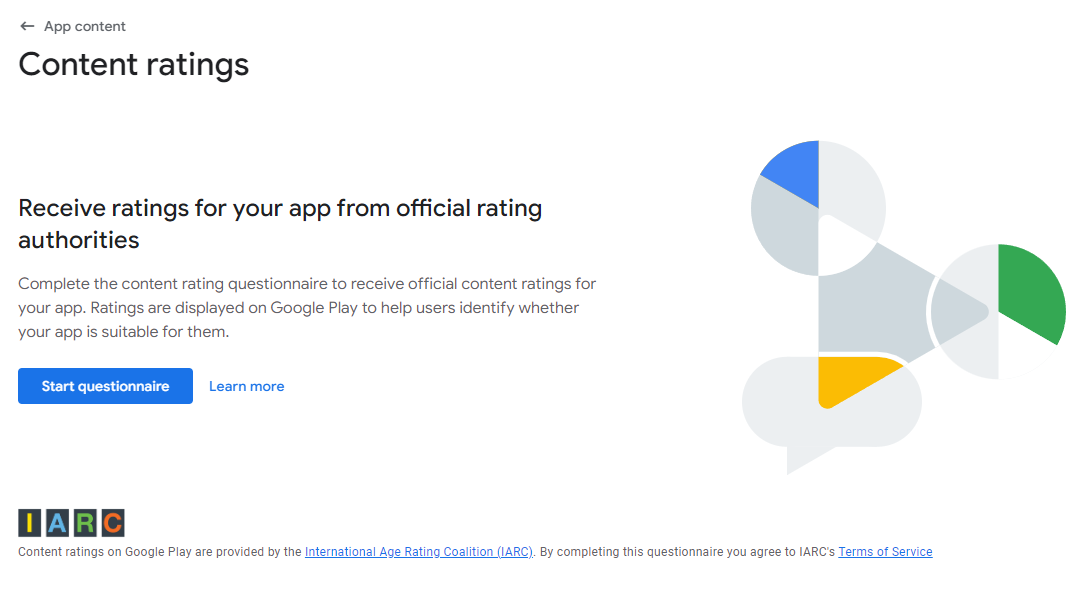
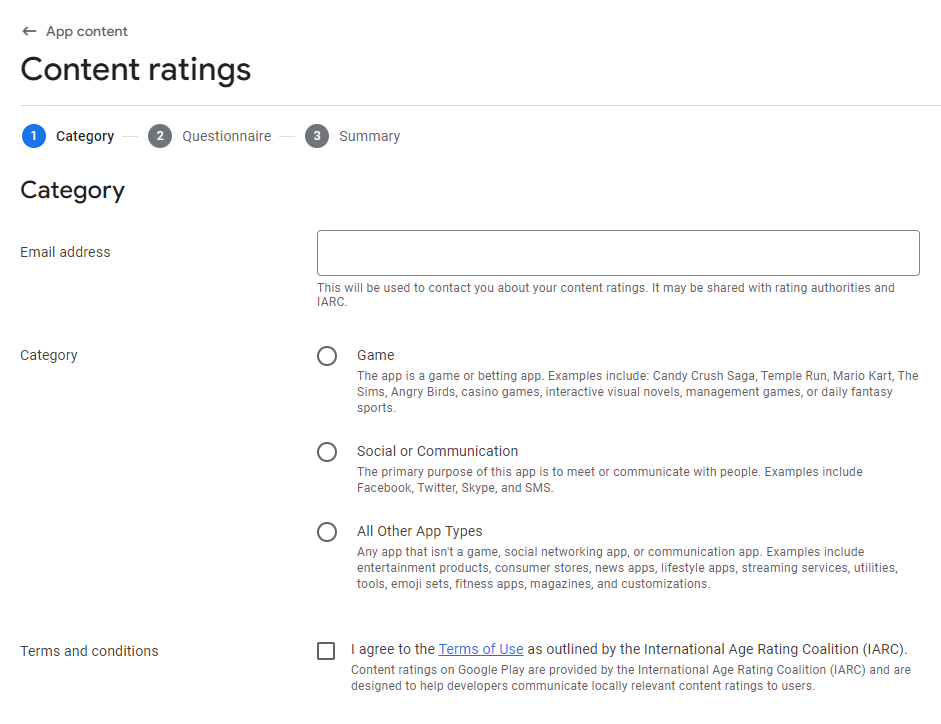
In the "Content ratings" section, you must provide a contact email (not shown on the Play Store listing) to receive updates regarding content ratings. Then, select the app category (probably "All Other App Types") and agree to the Terms of use.
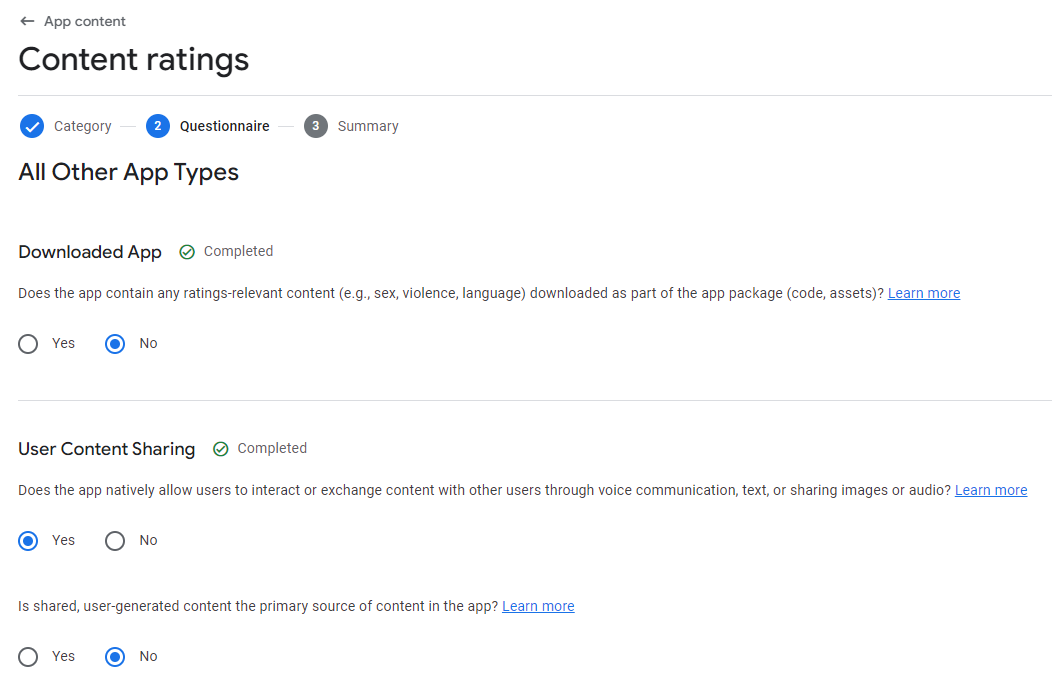
Next, you'll be asked a series of yes/no questions about the app's content that will result in your content ratings for different countries.
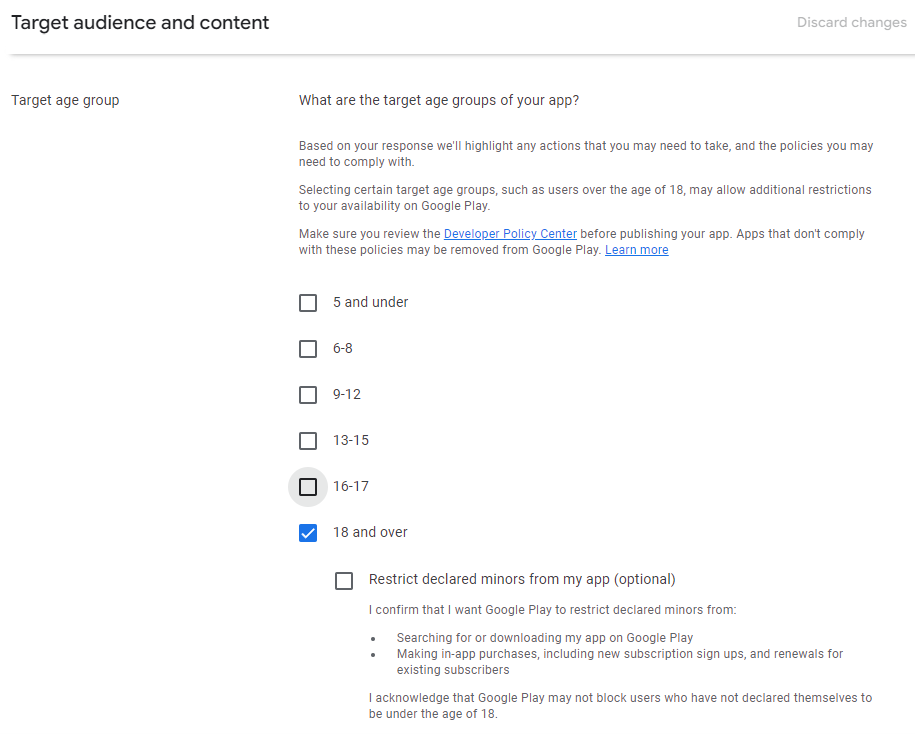
Once you've finished "Content ratings", you can complete "Target audience and content" which, despite having 5 steps at the top, you only need to select the target age group. For business apps, we recommend checking "18 and over" but not checking "Restrict declared minors from my app". Keep in mind that if you select an age below 18 you will need to comply with the
families policy.
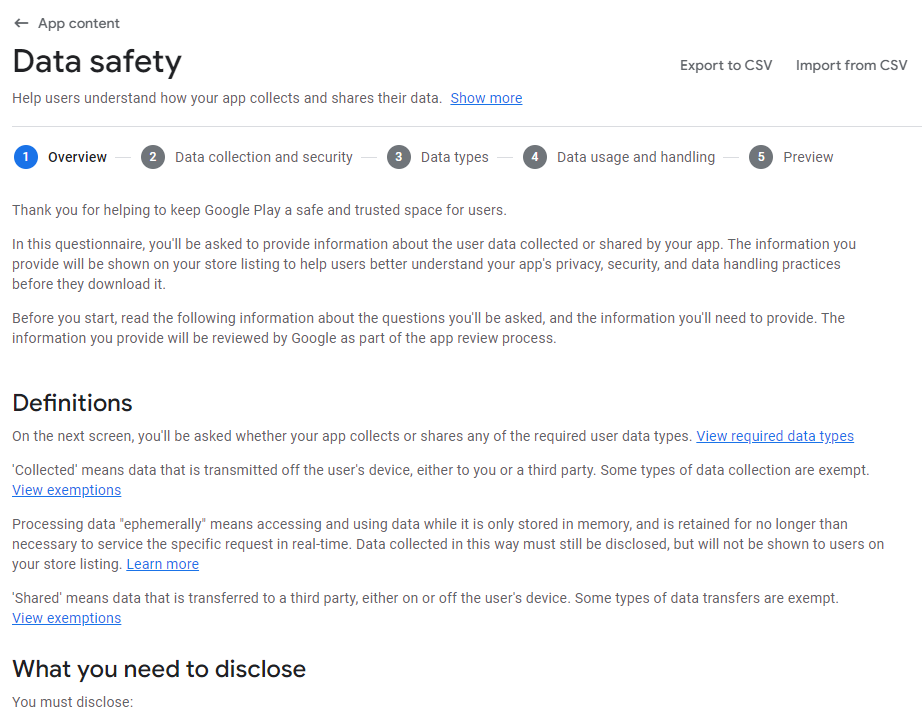
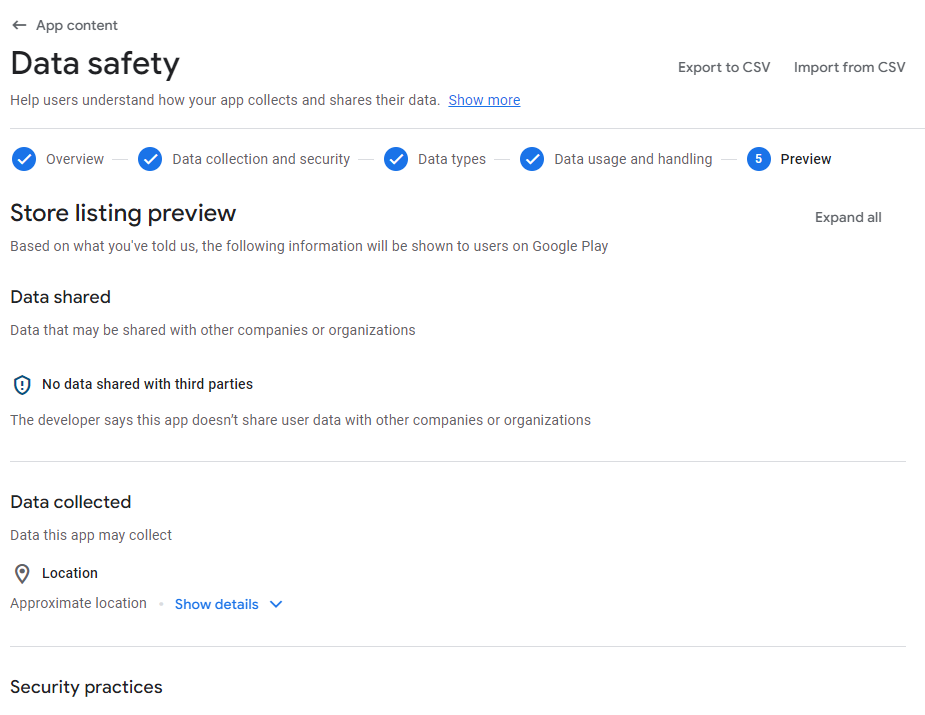
You're almost there! Next you'll fill out the "Data safety" section. You may need to consult with your development team for this step to make sure you're aware of the various kinds of data that might be collected by your app. Consult
this list for the types of data that must be reported.
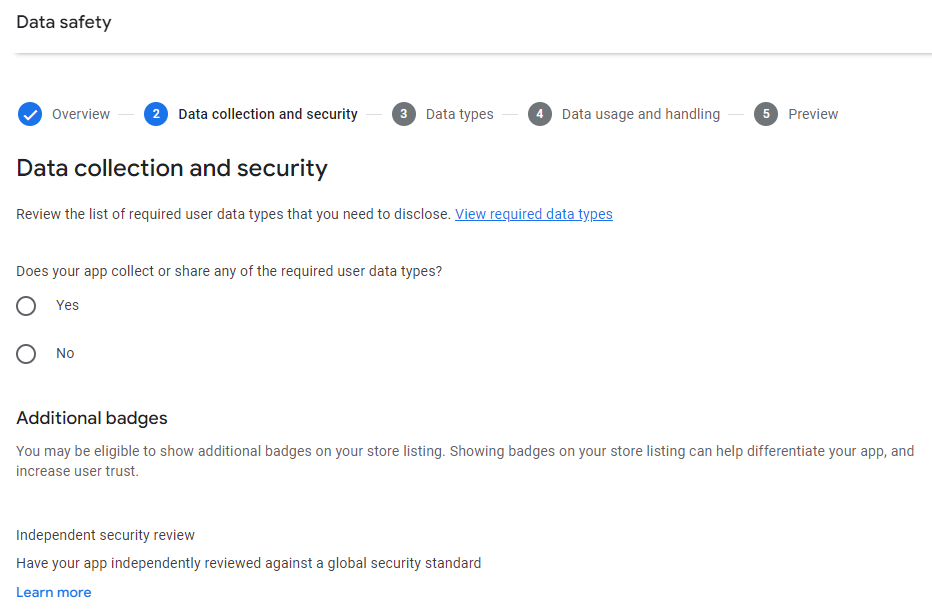
You will almost certainly need to mark 'Yes' to 'Does your app collect or share any of the required user data types?' because these data types include crash reports, analytics, etc. You will then need to select the methods of account creation that your app supports (if any) and provide a URL where users can request their account be deleted.
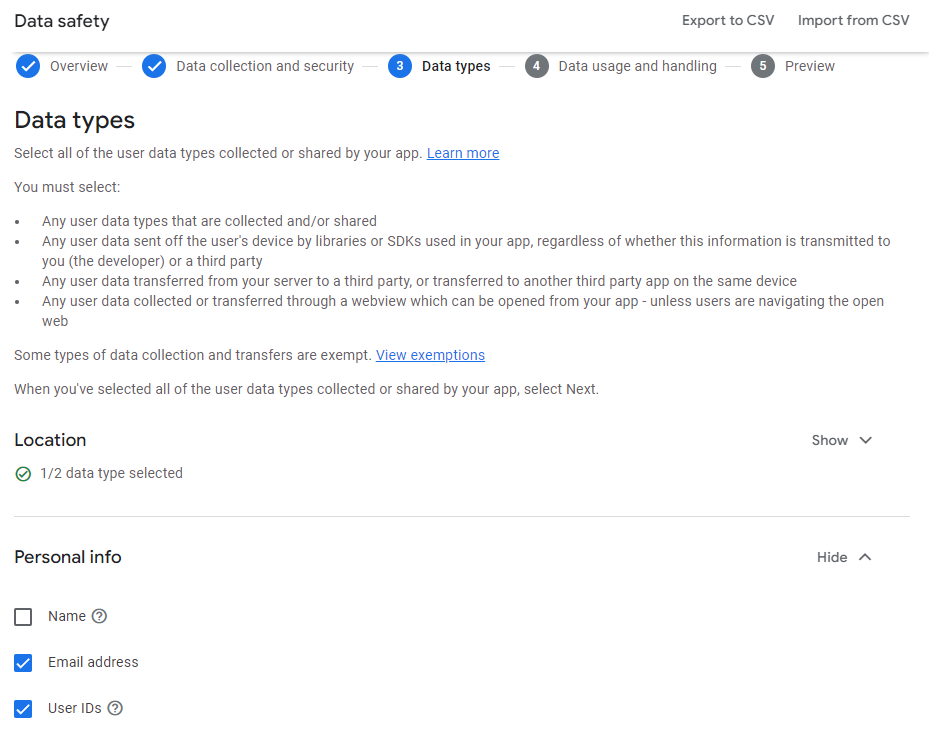
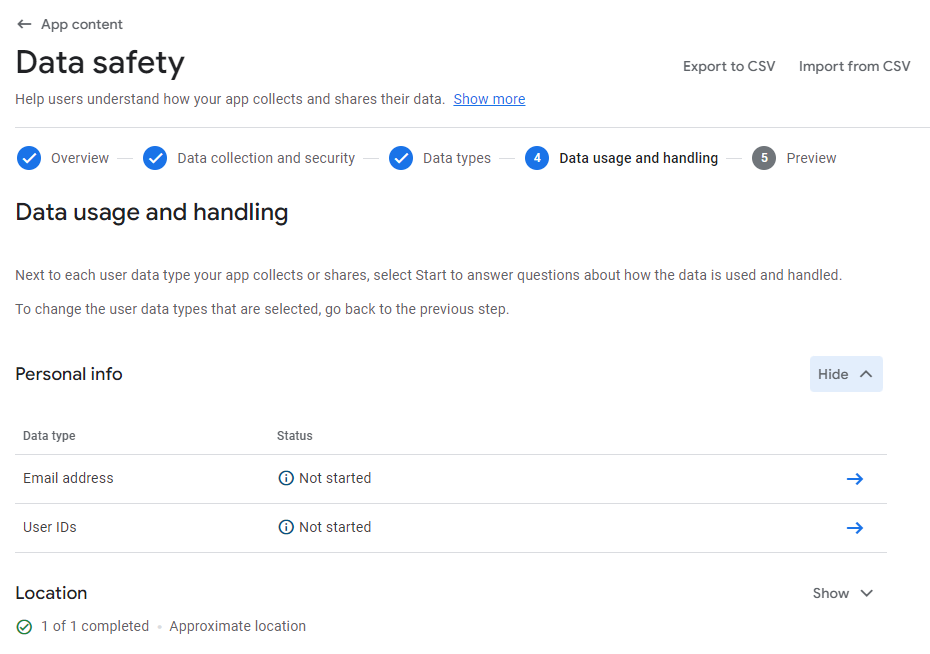
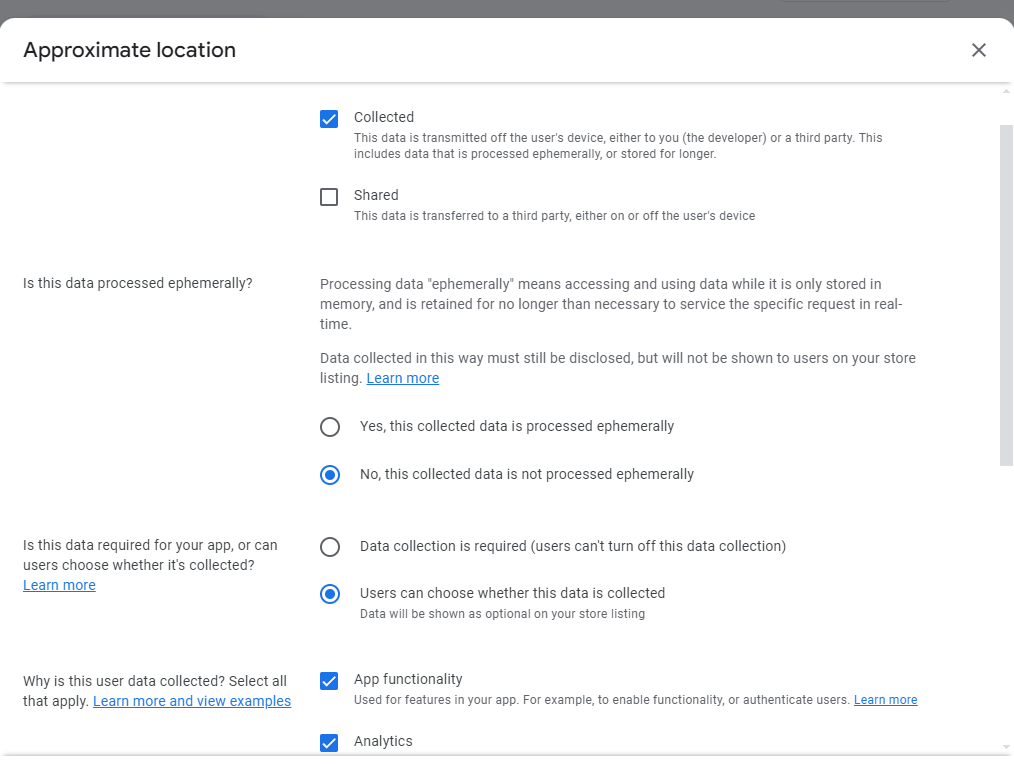
Next, look through each category of data types and select the information that the app collects. Once you've selected the data types, the next step will provide a list to go through and provide further information about whether the collected data is shared with a third party, whether the data is stored temporally or logged somewhere, whether users can turn data collection off, etc.
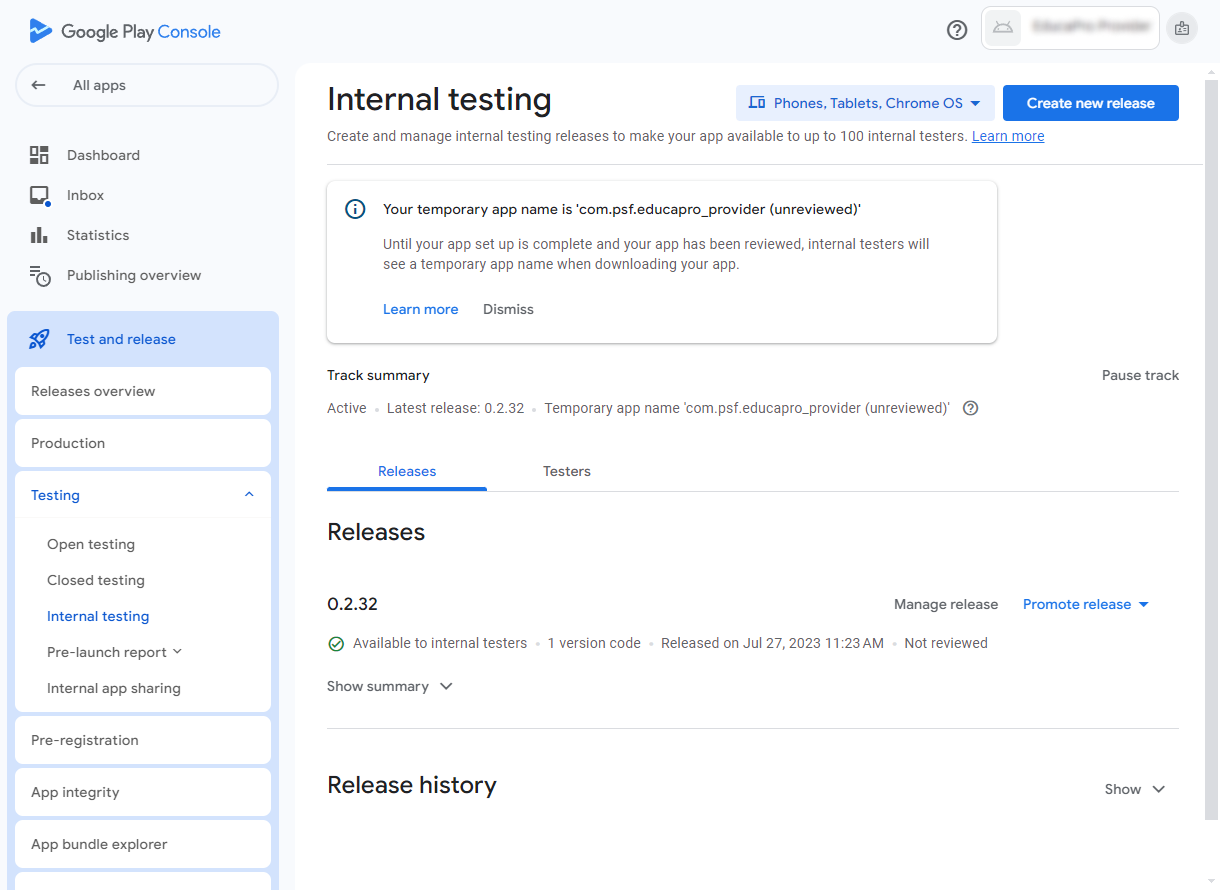
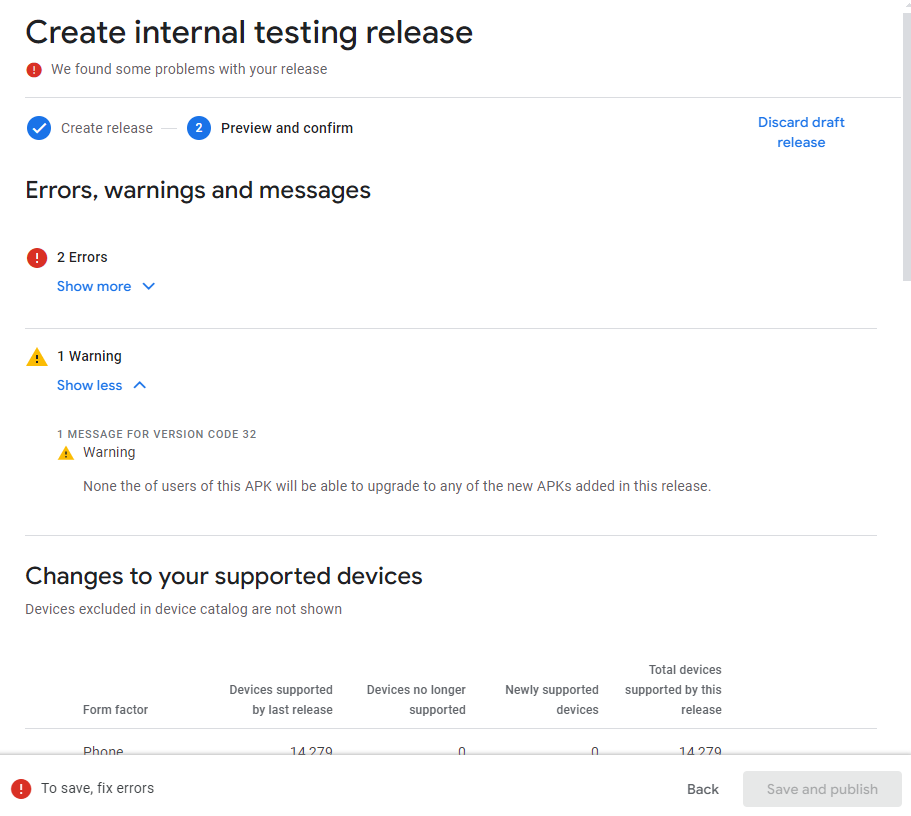
Once the development team provides you with an app bundle (aab file) to deploy, you can create a release. (Devops tools may automatically upload this file.) Generally you'll want to create an internal testing release first since that will enable a small group to test the app before releasing it to the general public.
You'll need to upload your app bundle, provide a release name, and enter release notes. The release name is internal and does not correlate with versioning. The version number is part of creating the app bundle and your development team should be handling it.
If you want guidance about versioning (when should version 1.0 become 1.1 or when should version 1.5 become version 2.0, etc.) check out our recommendations at the end of
this article.
Review and Release Time
Google will need to review the internal testing release before you can access it, which typically takes anywhere from 2 to 7 days depending on the complexity of the app. Some highly complex apps may take longer than 7 days. Keep in mind that someone will need to access all parts of your app and make sure it matches the info you've provided.
It's possible that you will receive feedback that your app violates certain Play Store guidelines and you will need to update the app and/or descriptions and categories accordingly. This will extend your timeline. To be on the safe side, it's best to allow two weeks to release a version of the app.
After your internal testing release has been vetted by your developers and internal testing team, it's time to release it to production. This will have a similar review time to your internal testing release. All in all, if you have a specific release date that you're working toward for marketing purposes, make sure you begin your app store journey 3-4 weeks in advance so that you can release your app with confidence and not push back a big launch at the last minute due to Google review processes being delayed.
While this is a lot of information, the dashboard tab that you are directed to upon entering the Google Play Console can provide additional help in identifying what you need to do to prepare your release. Give yourself plenty of time to procure the needed information and you'll be well on your way to a stress-free launch and a successful rollout!

